- What Is a Checklist? Part 1
- How to Make a Checklist in Microsoft Word Part 2
- How to Make a Checklist in Microsoft Excel Part 3
Part 1
So, What Is a Checklist?
In simple terms, a checklist is a list of items that help you avoid skipping important steps when handling a multi-step task. With special inserts a checklist allows you to inspect and confirm every single step.
There are two main types of checklists:
-
Read-Do Checklist
This checklist clearly outlines every step towards the accomplishment of the specific result.
Example: To-Do list.
Free online software for this type of checklists: fluxes.com
-
Do-Confirm Checklists
Like the name goes; this checklist confirms the tasks you have already performed. In this case, if you have to routinely do something, and want to perform it correctly every single time, a Do-Confirm checklist is your ultimate tool.
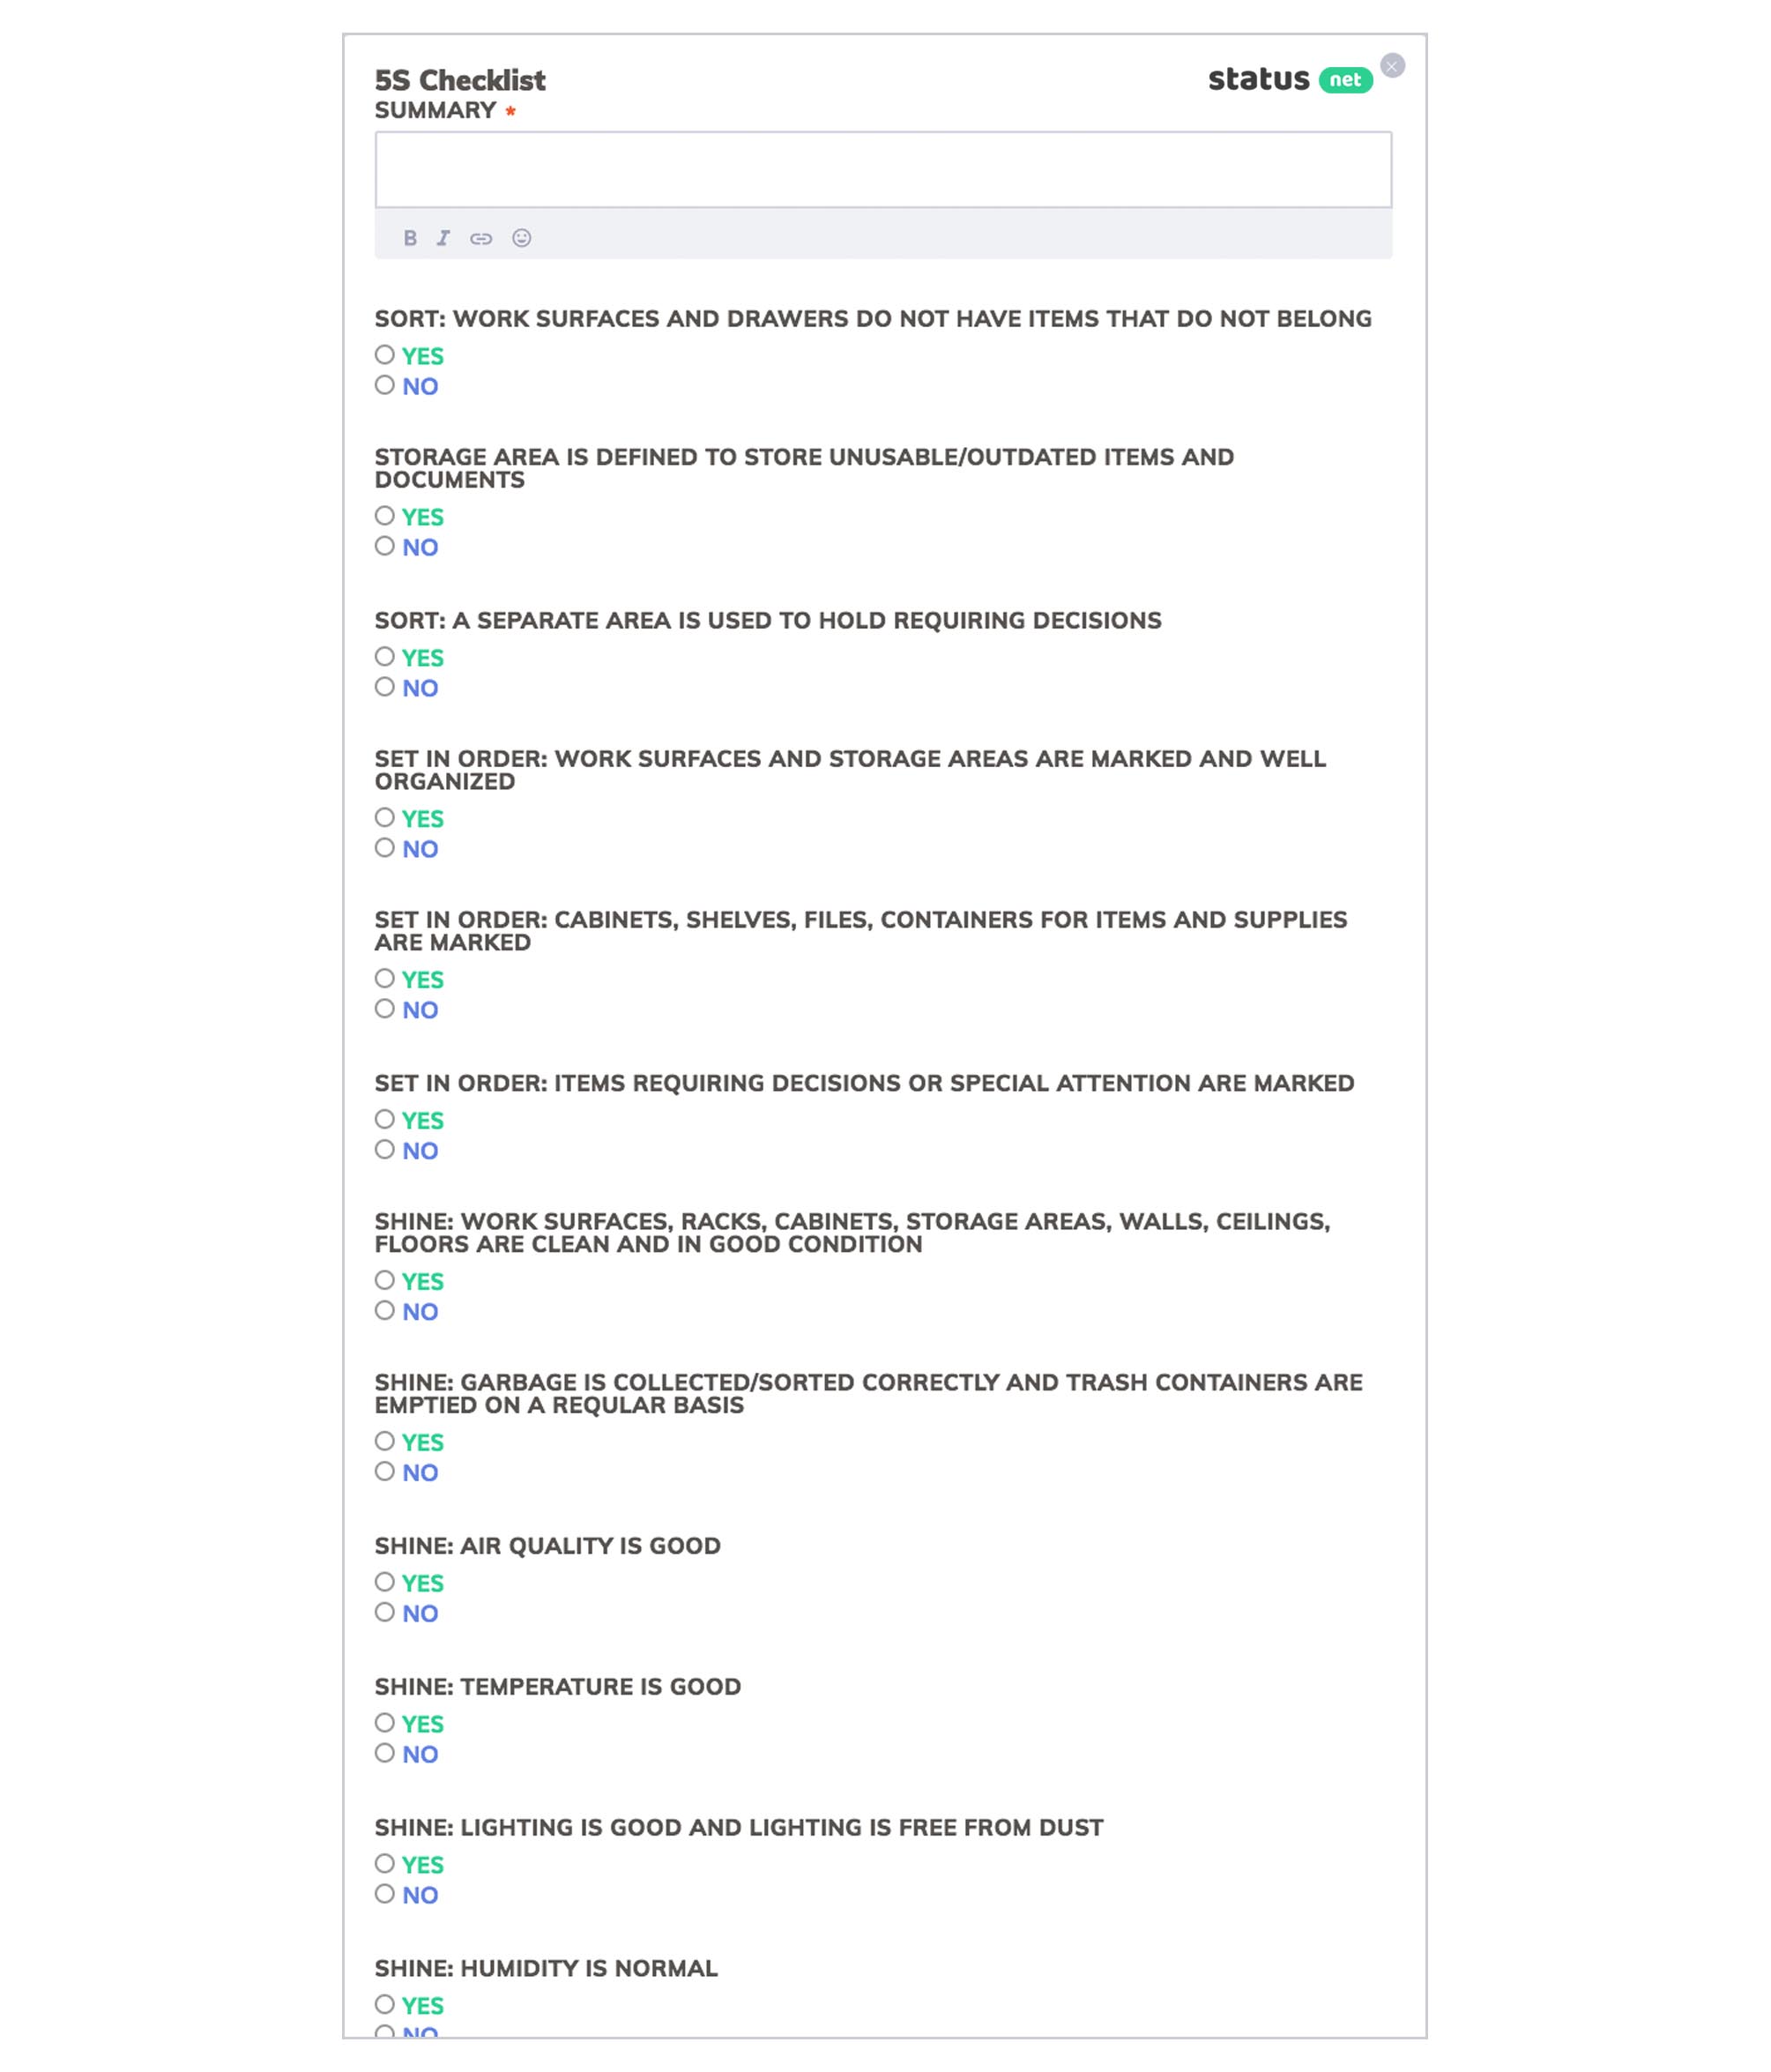
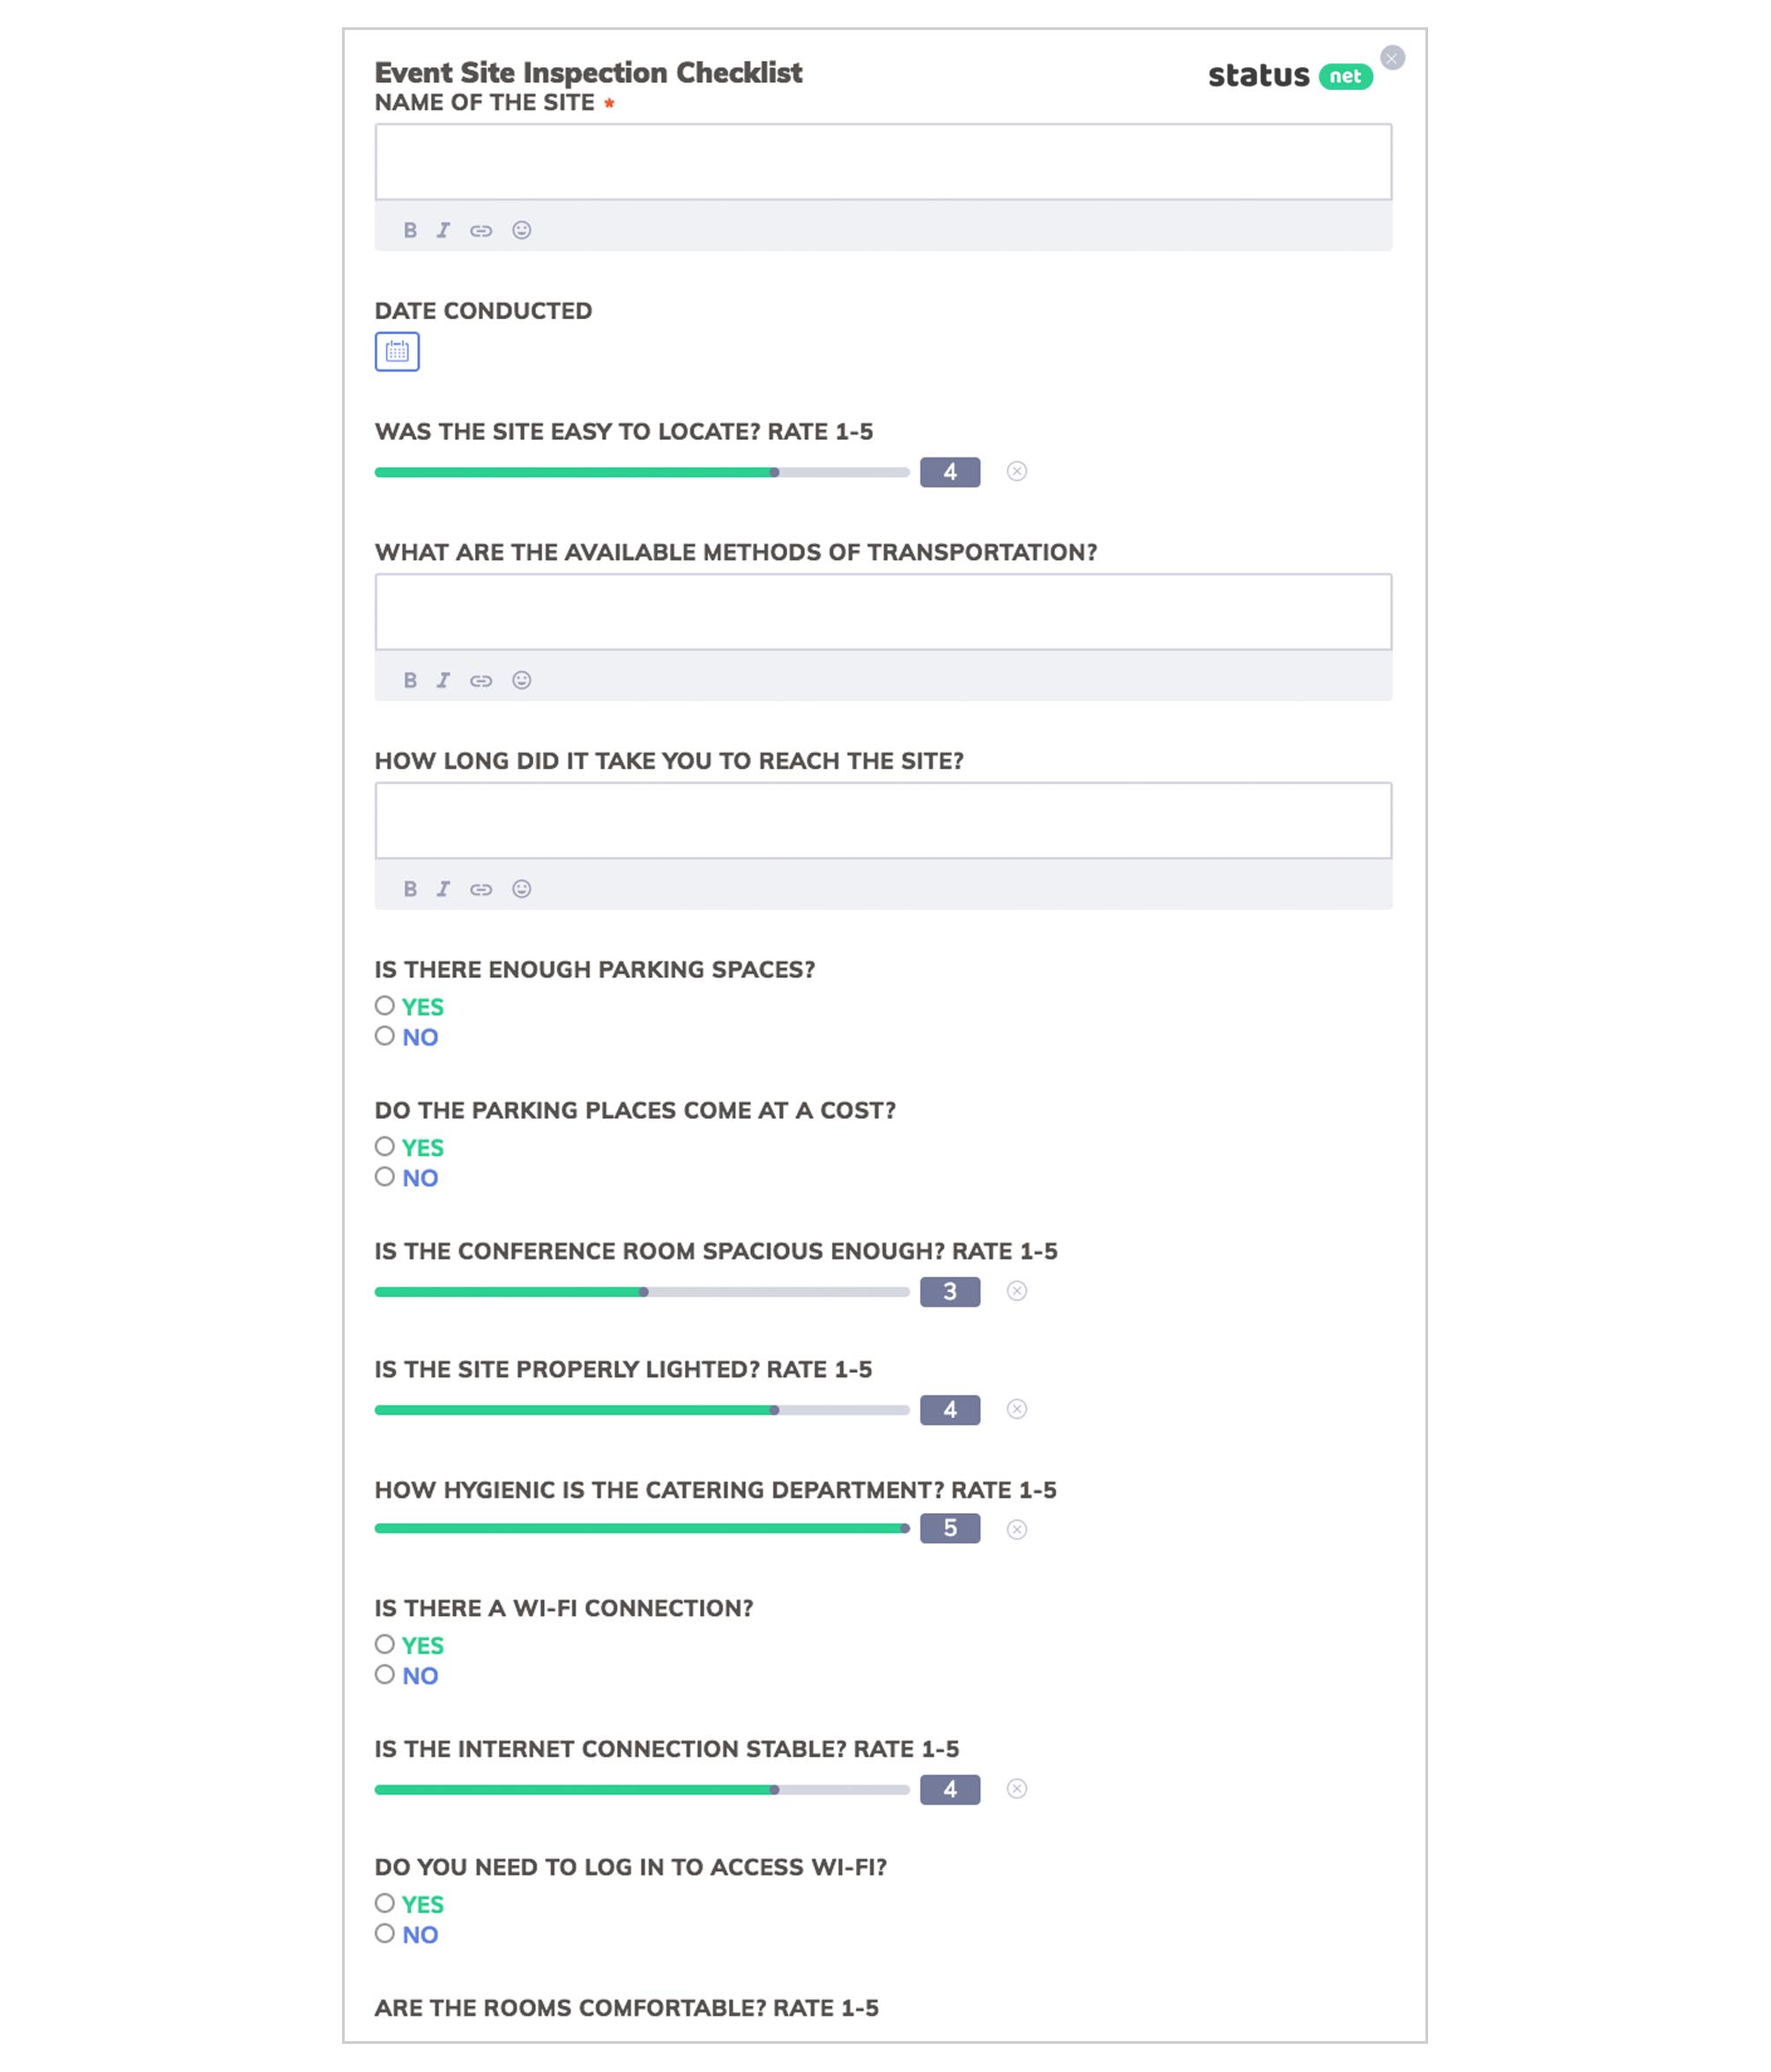
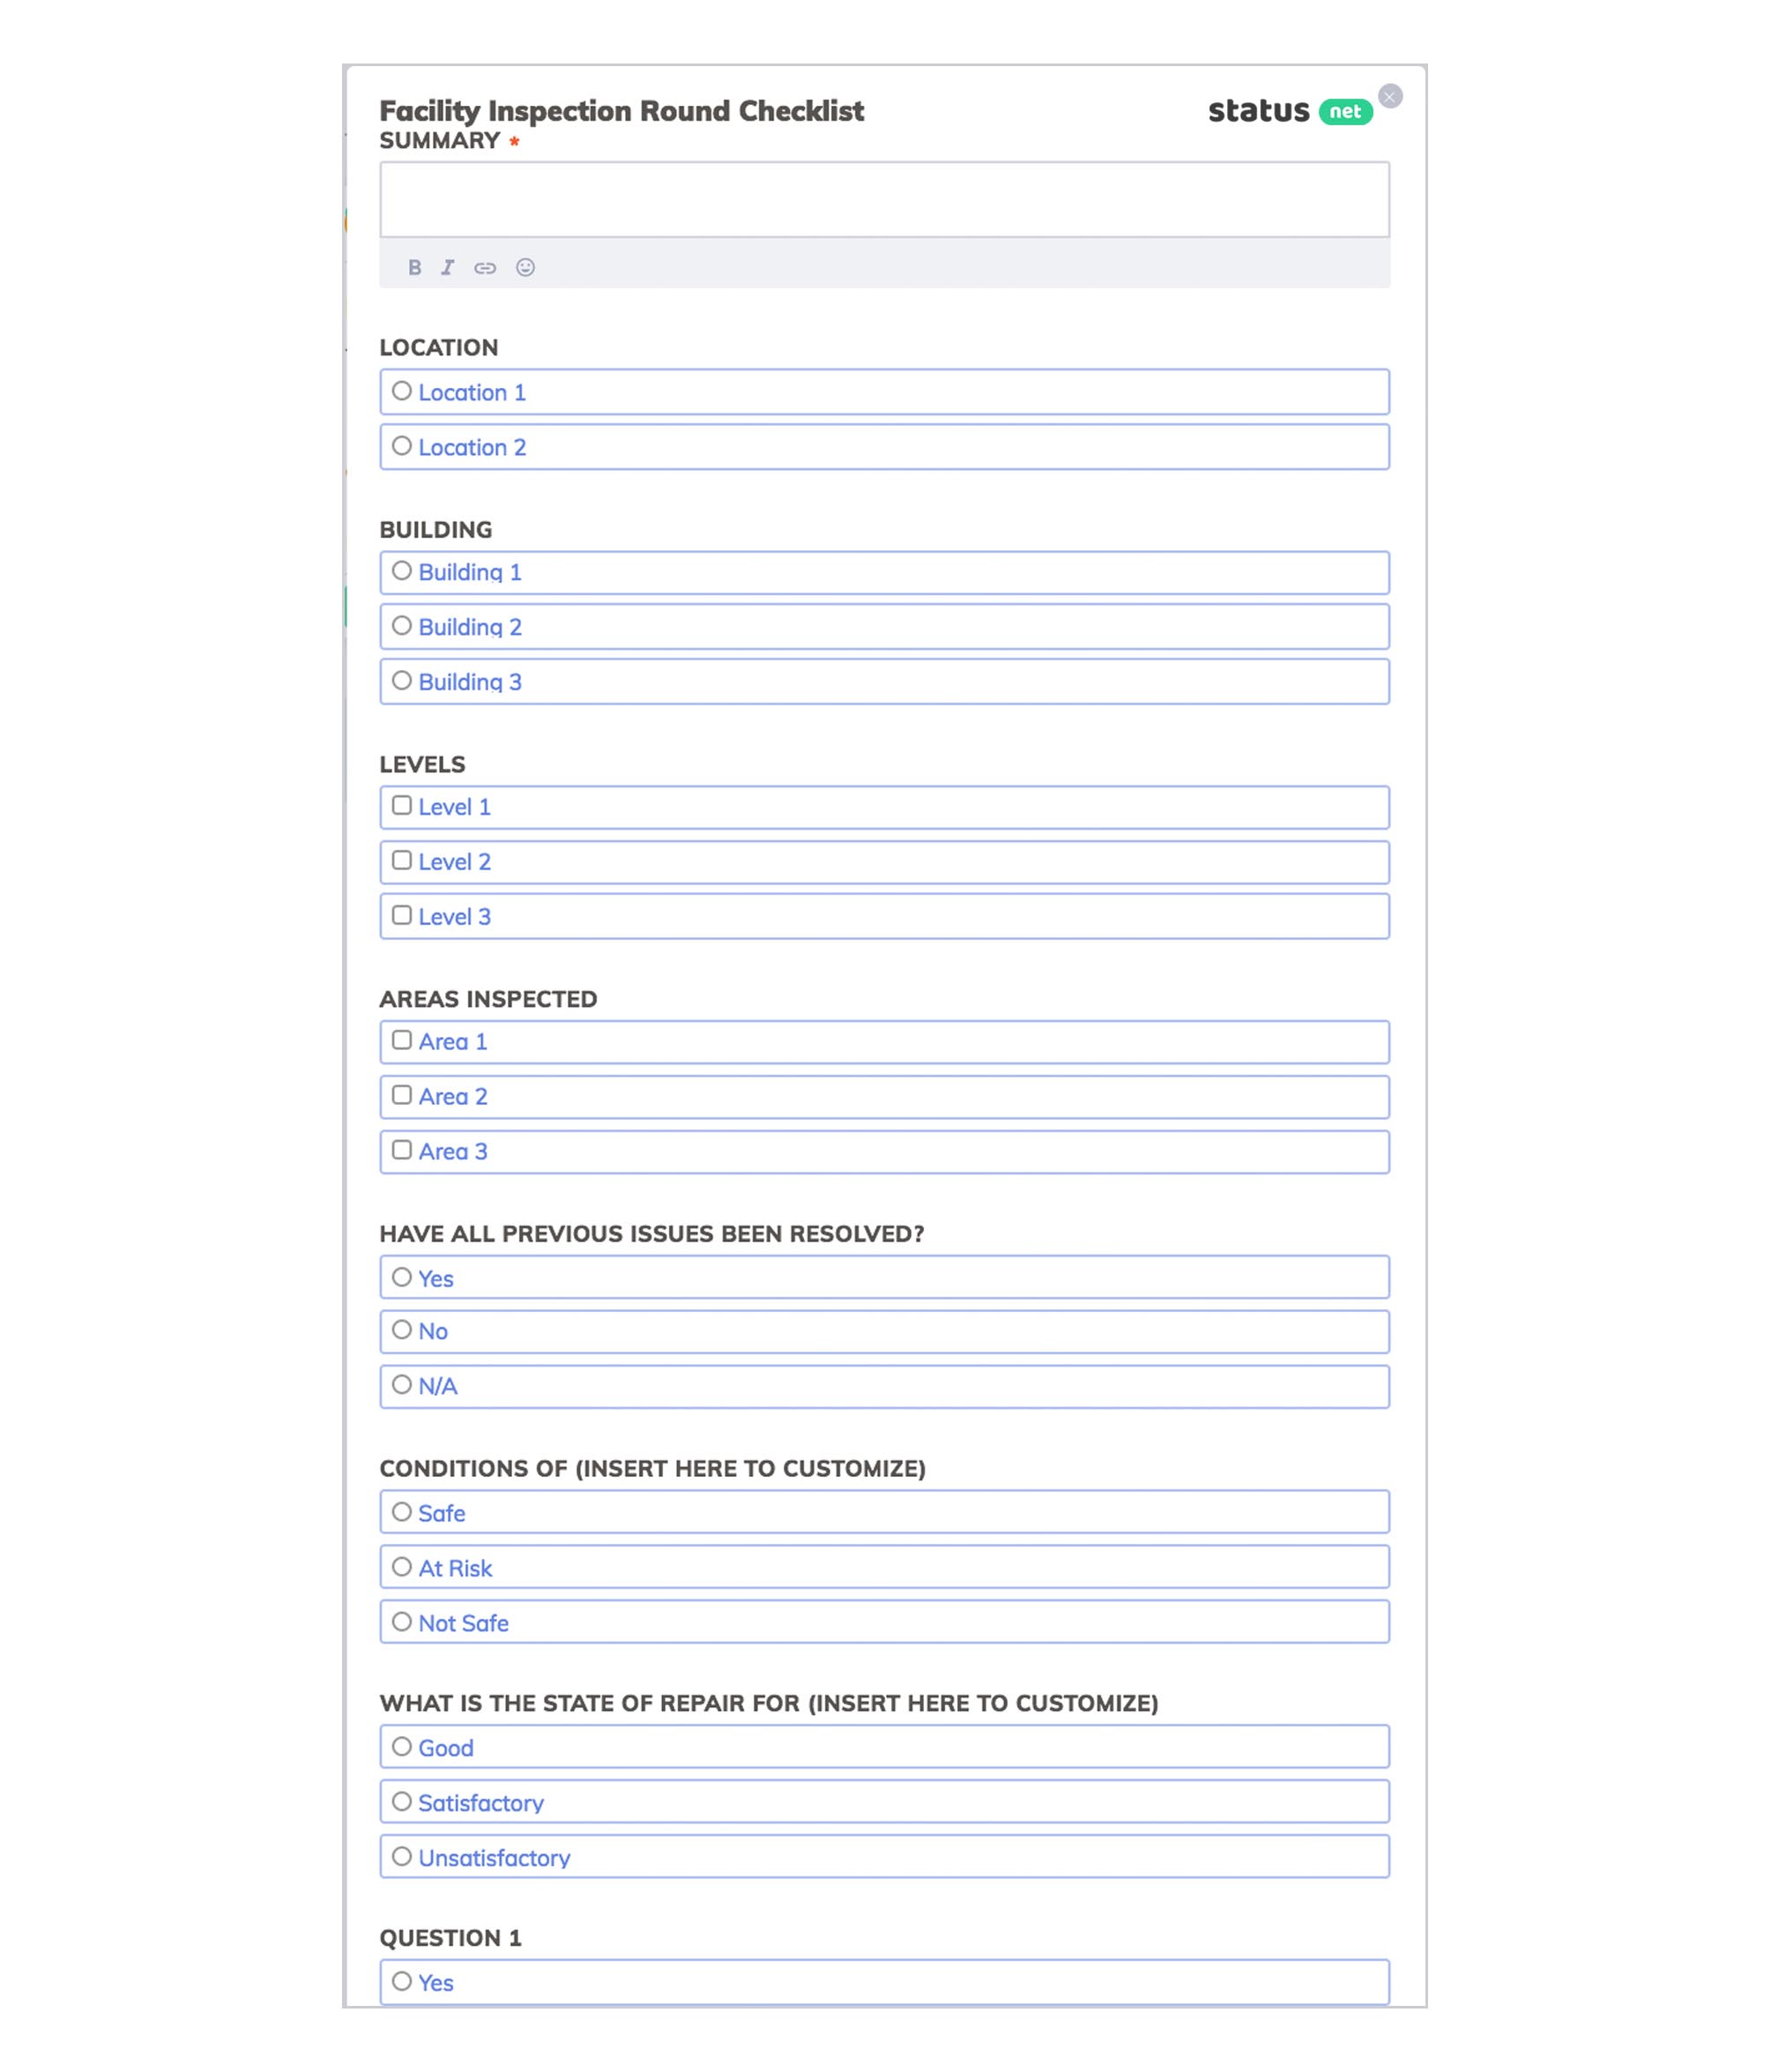
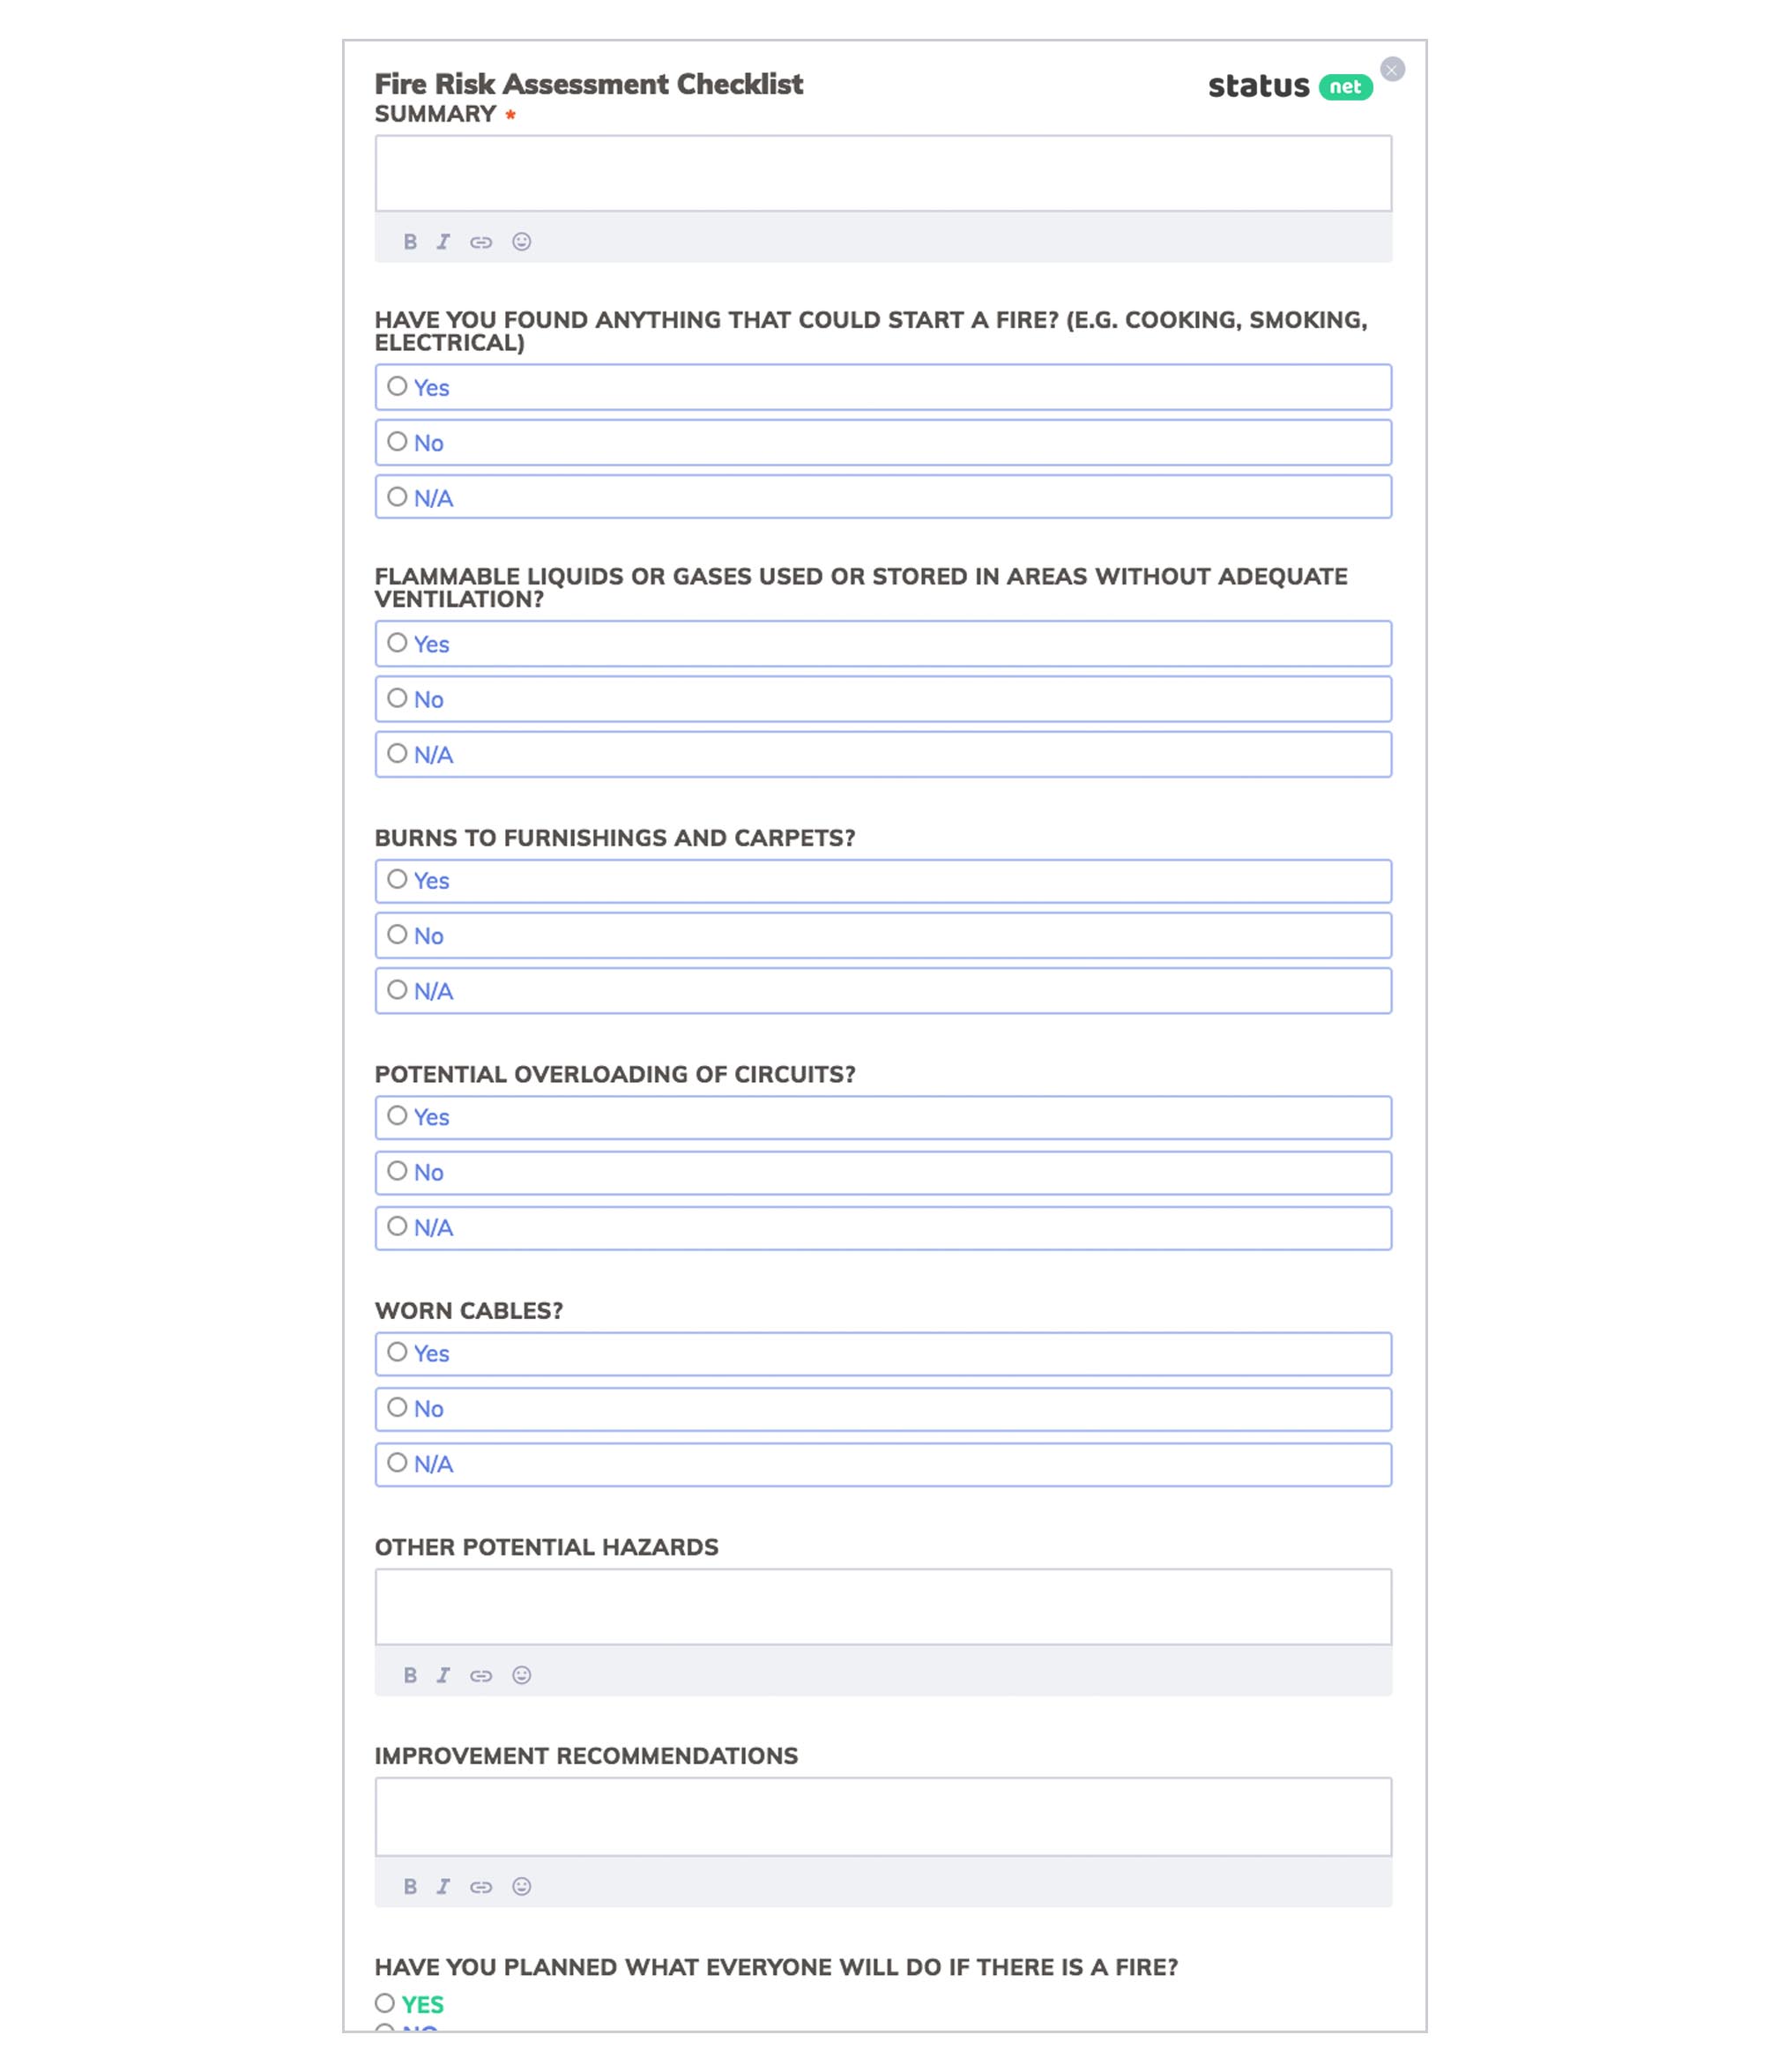
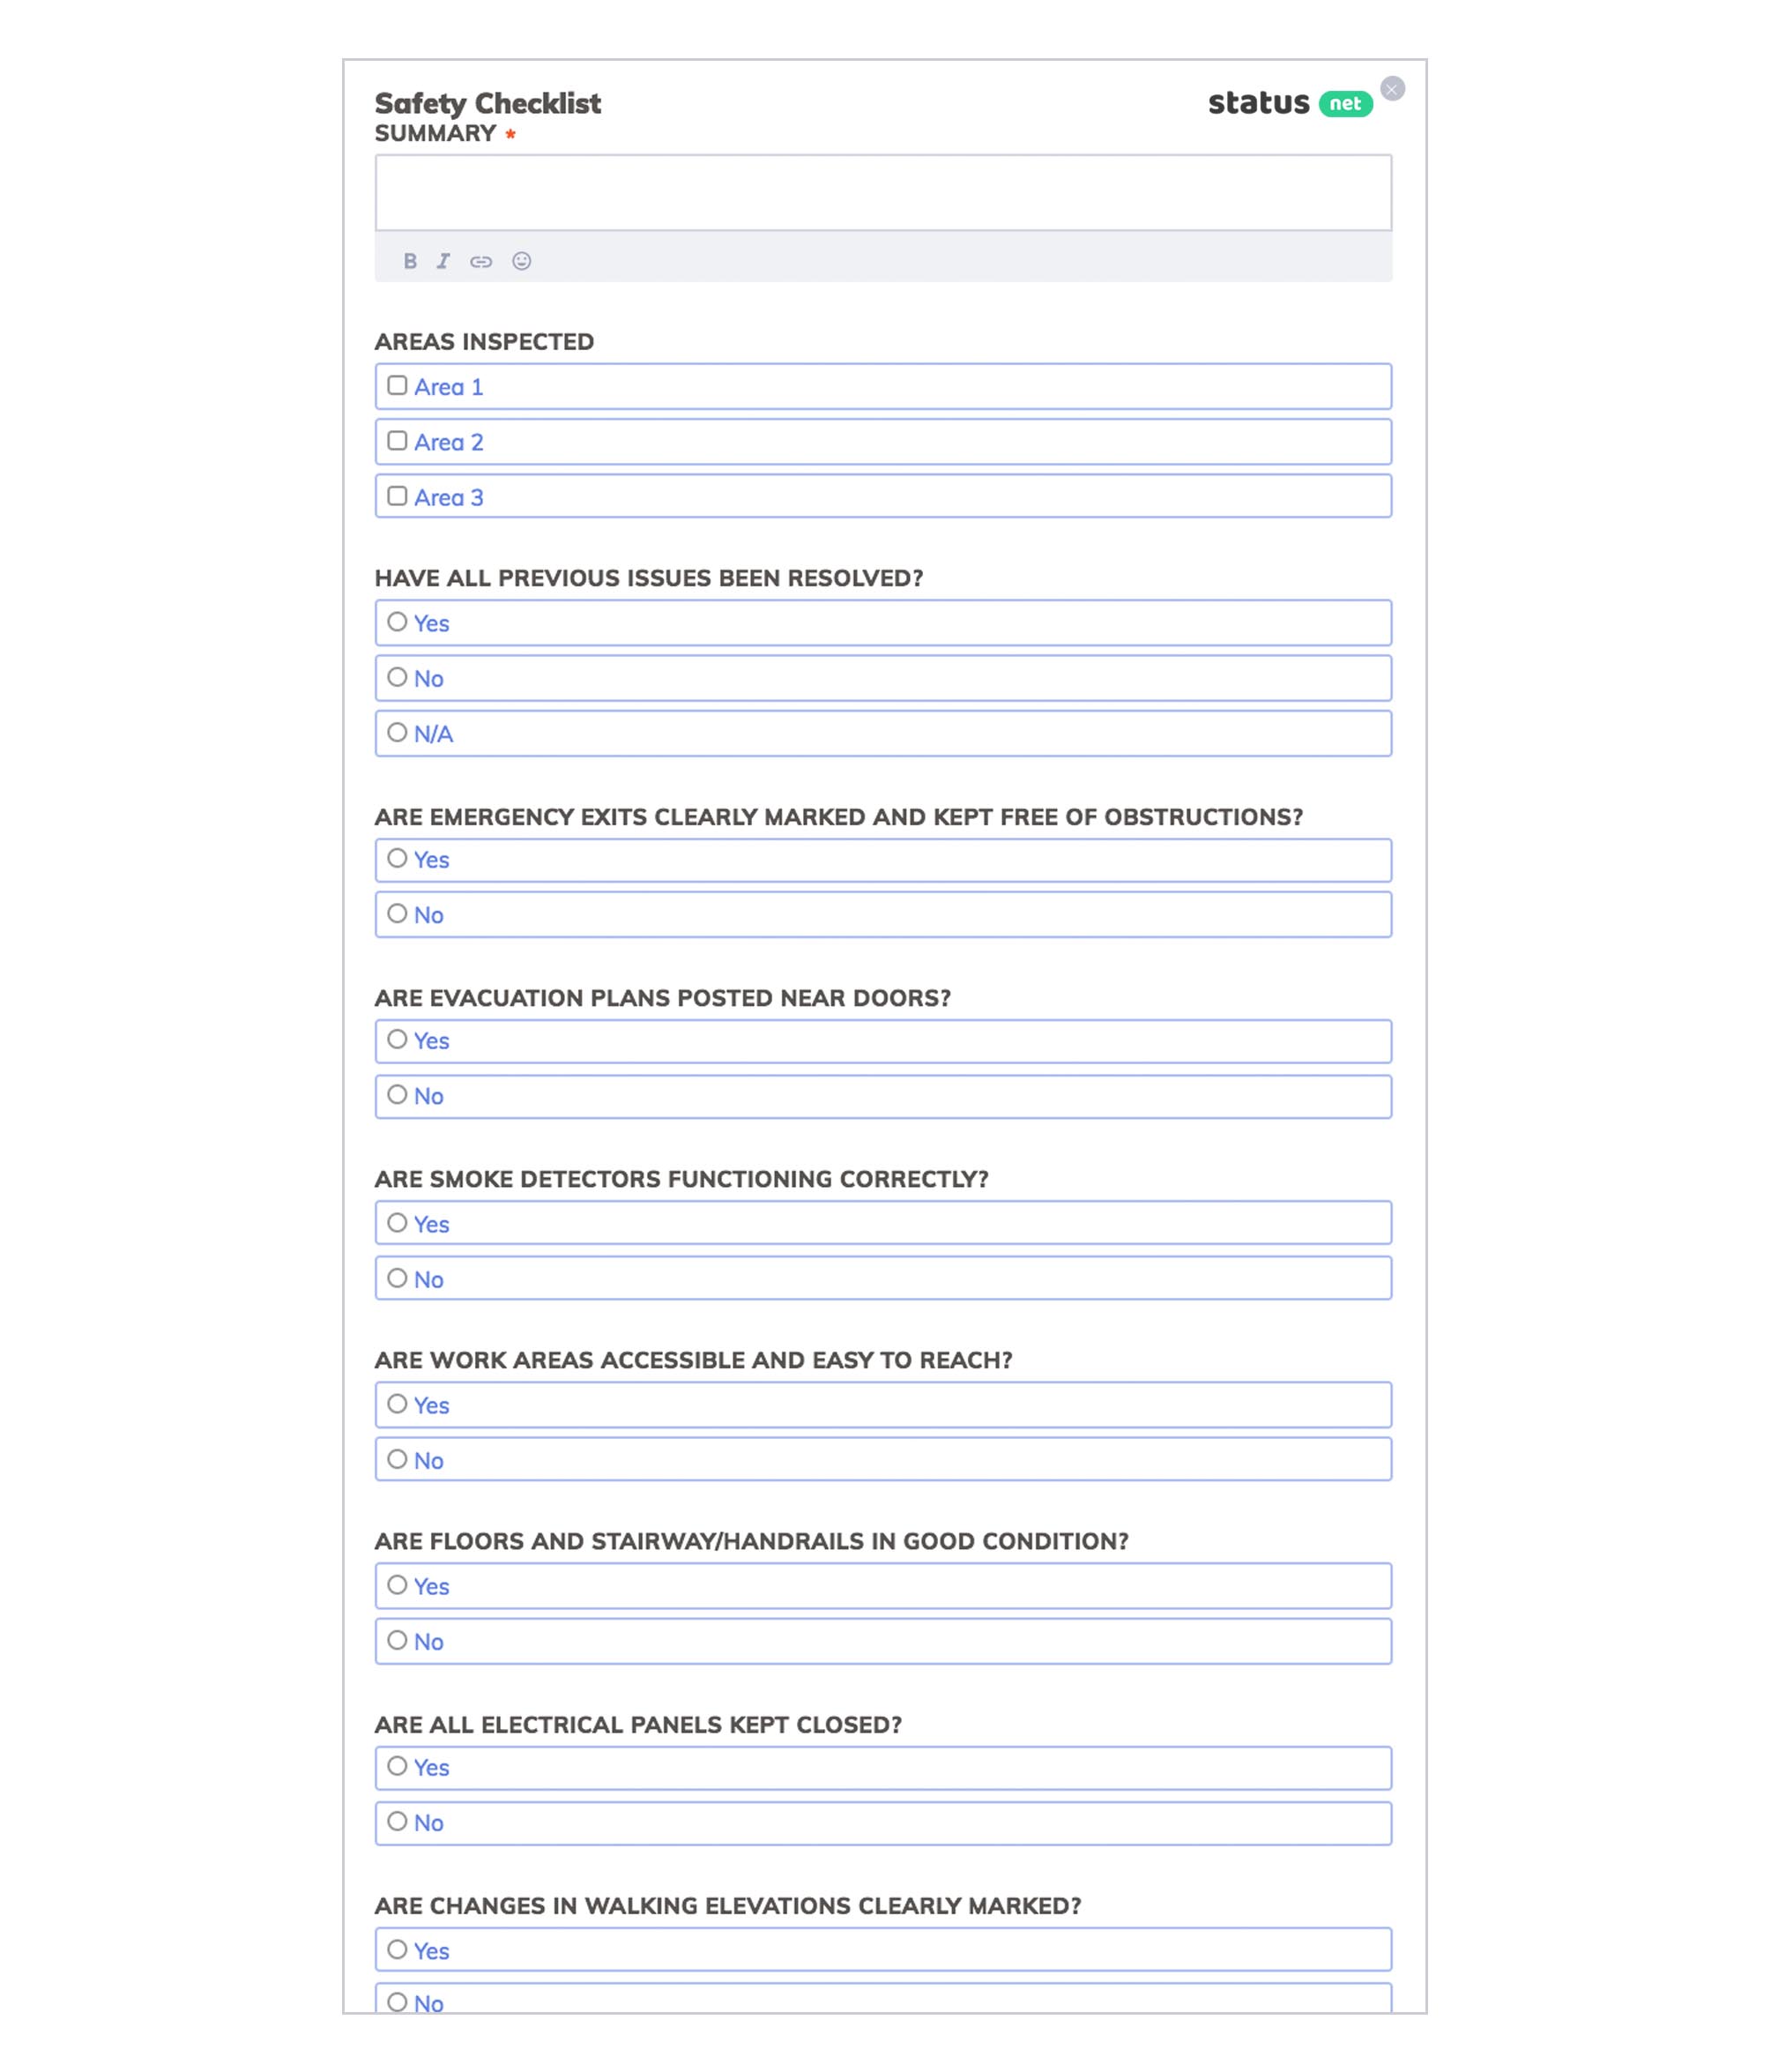
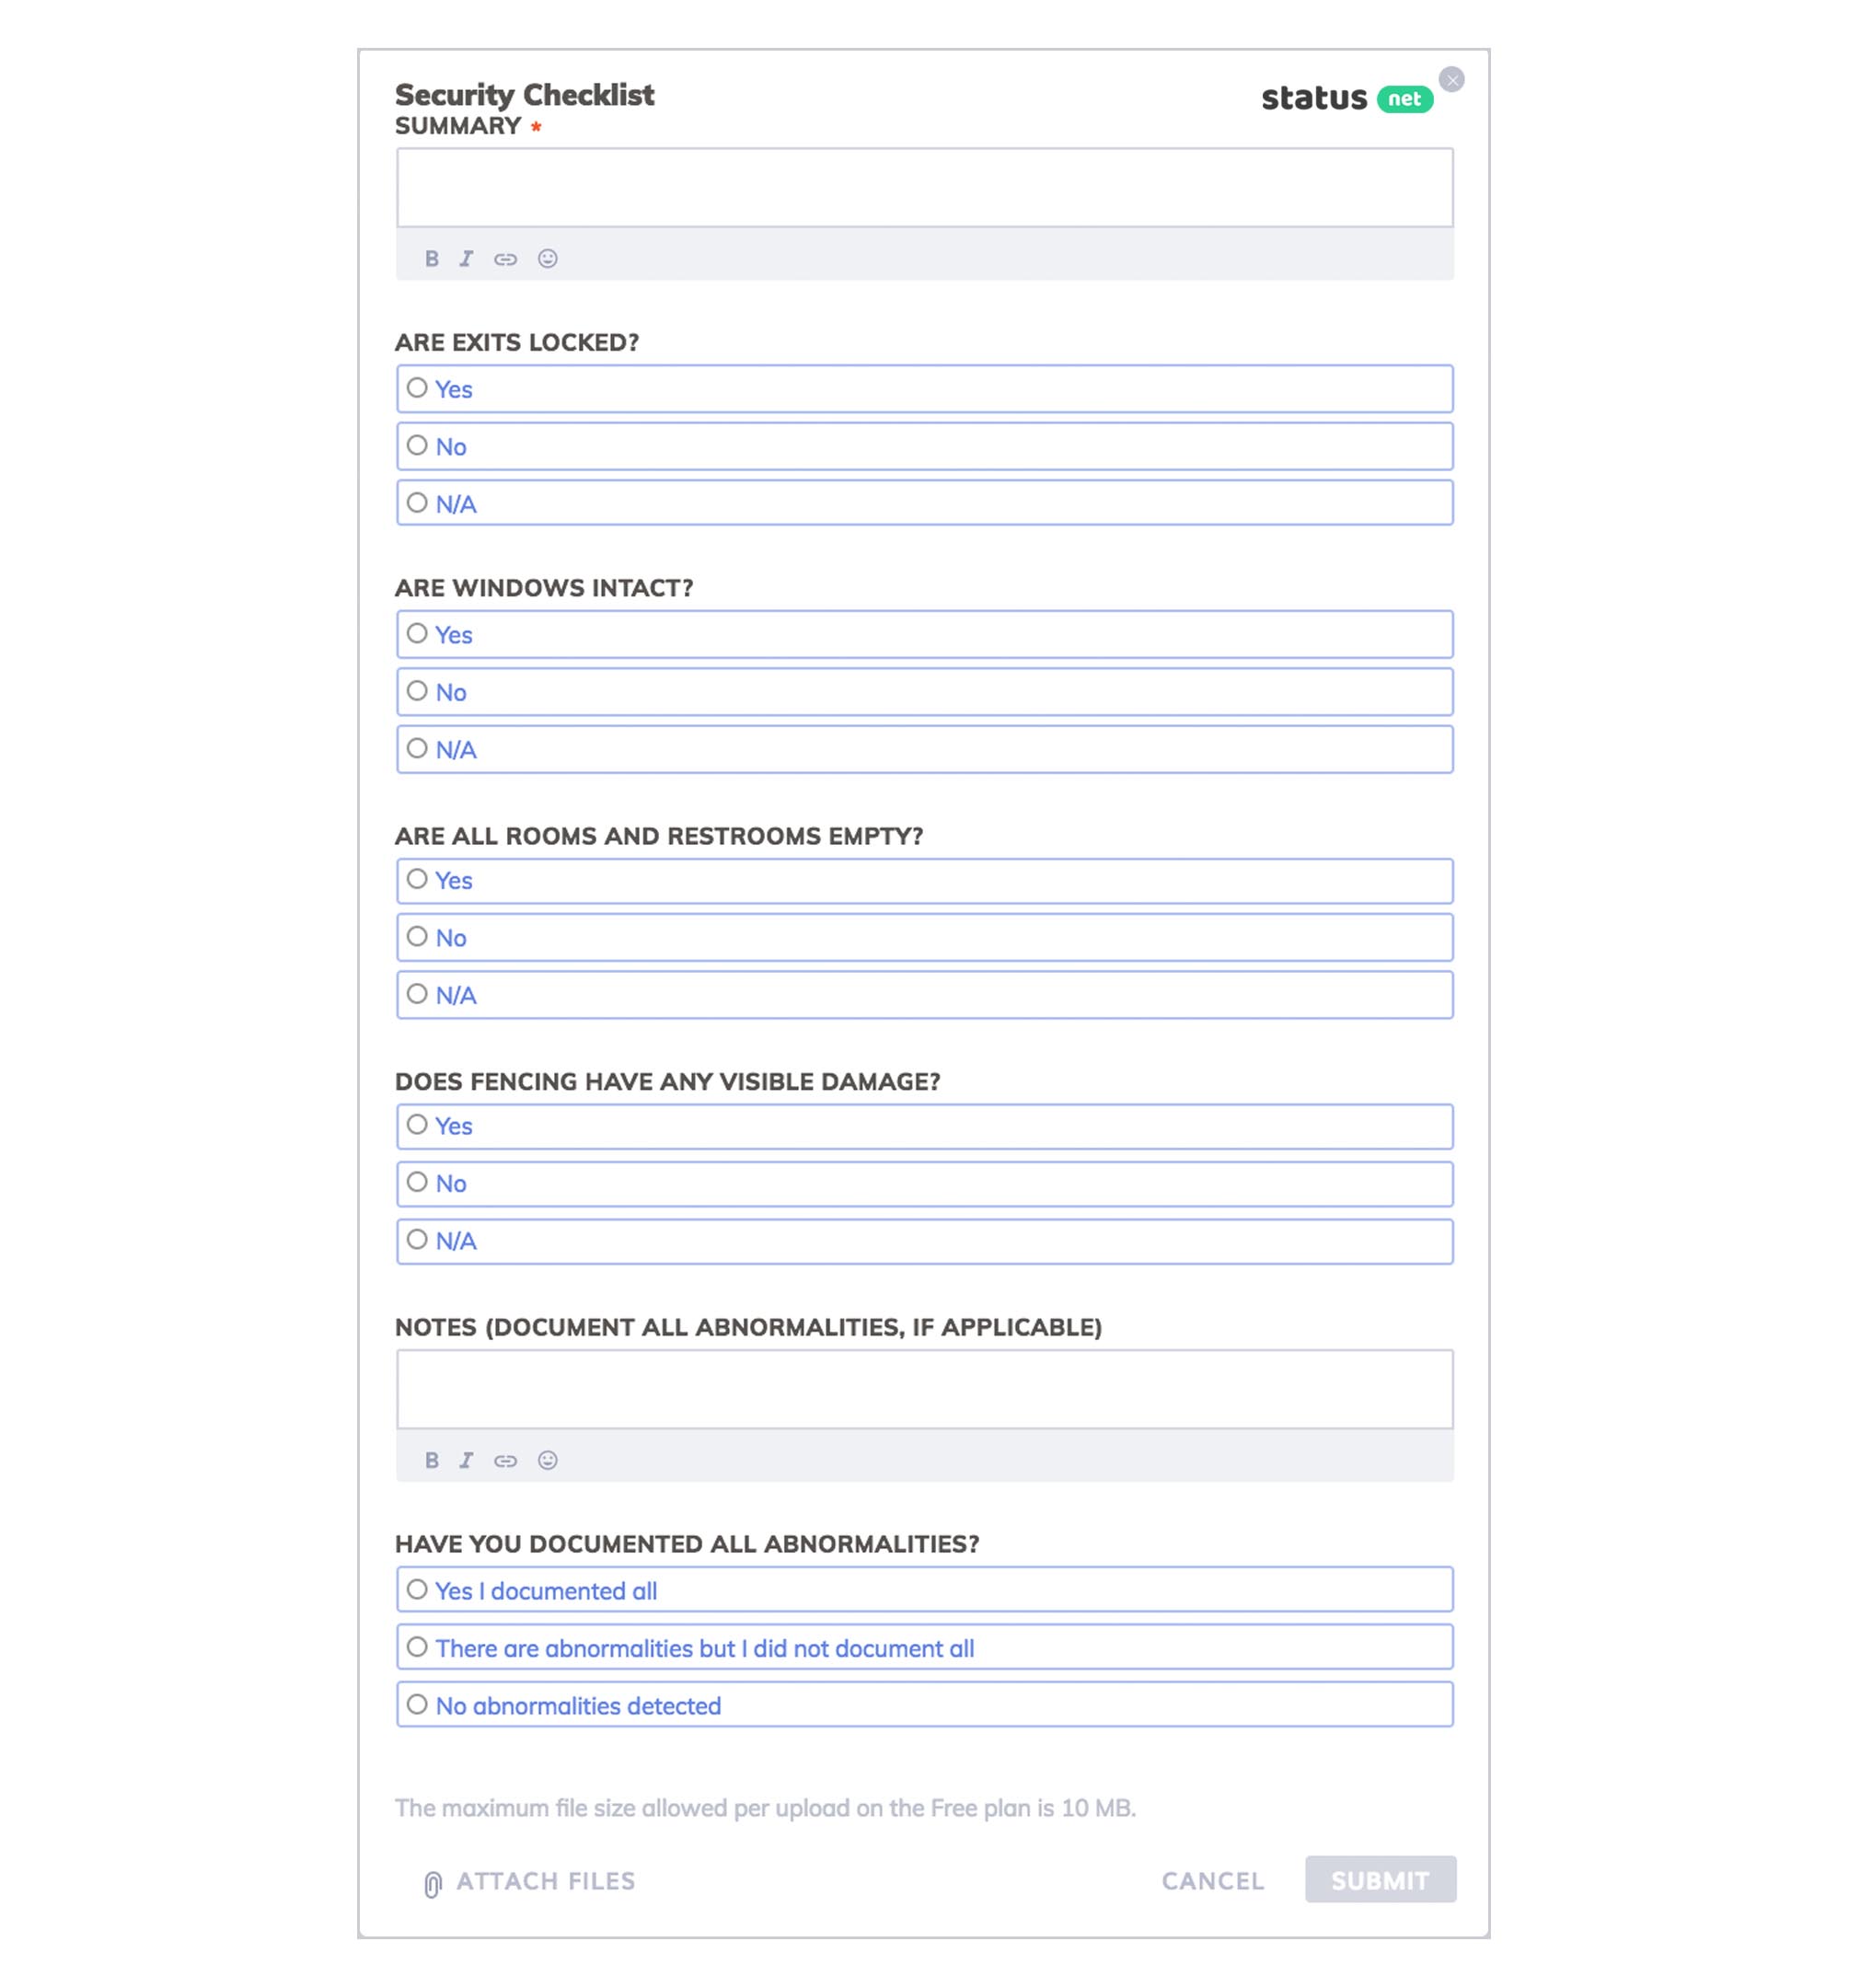
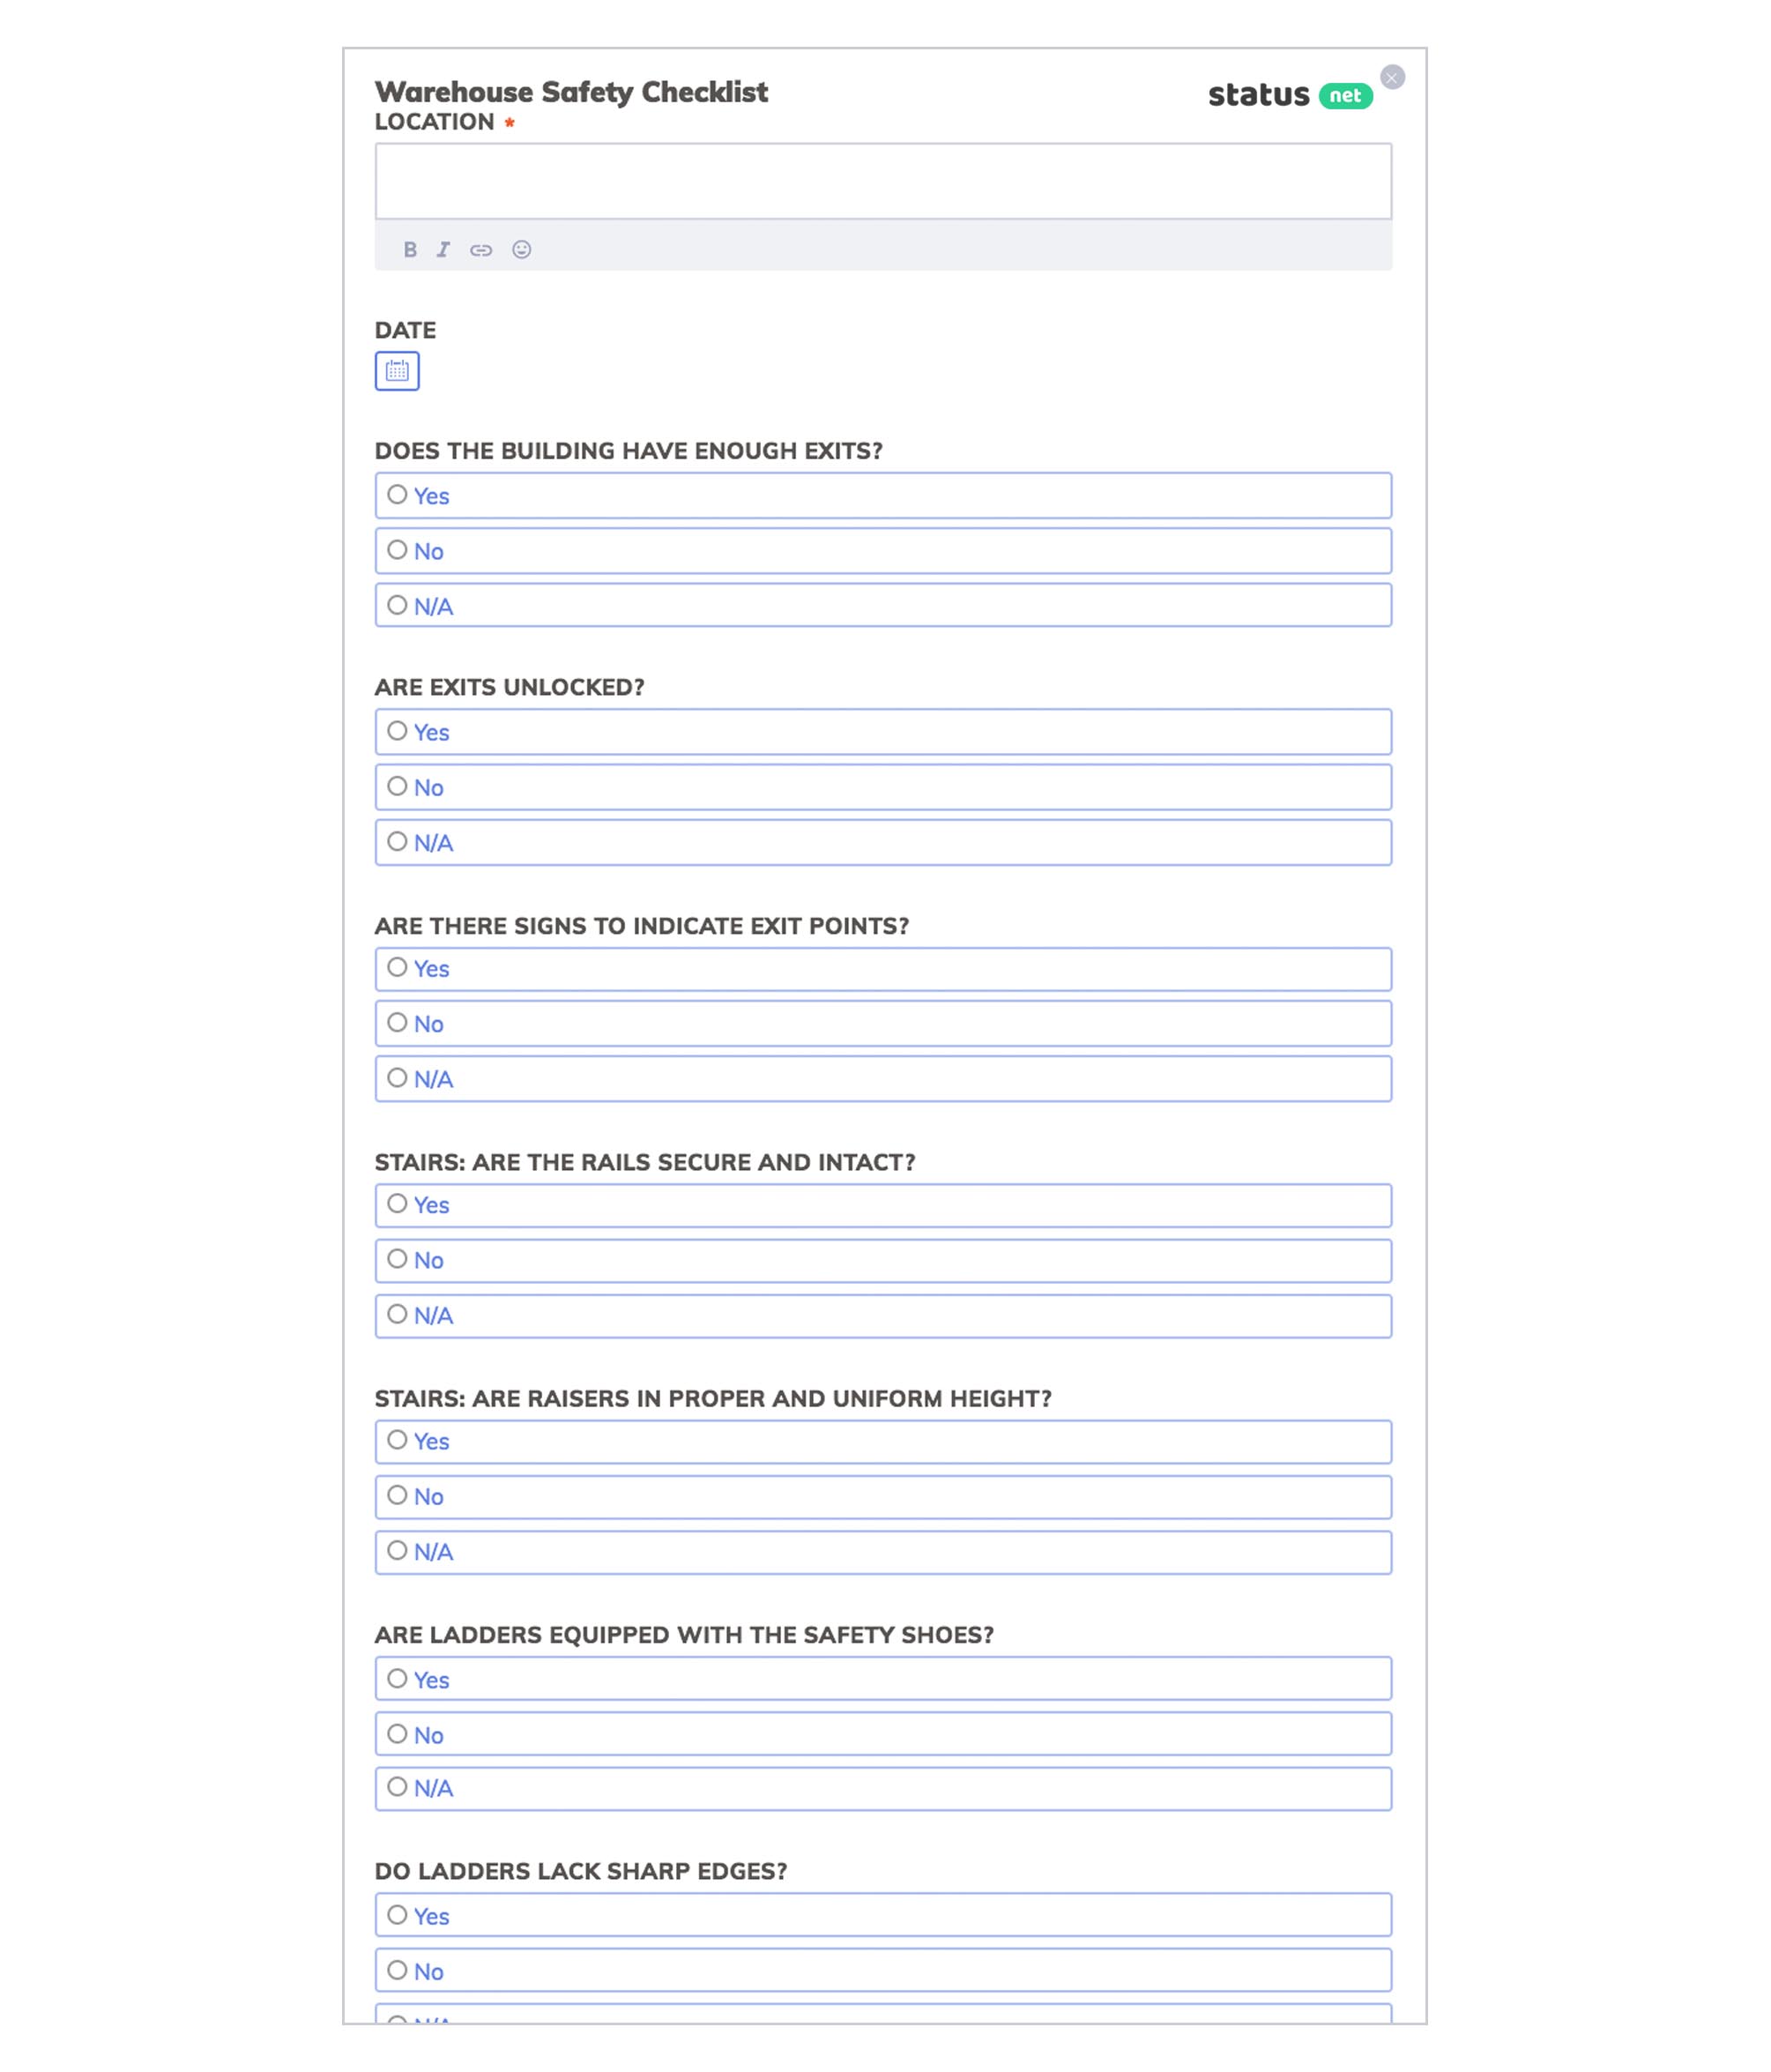
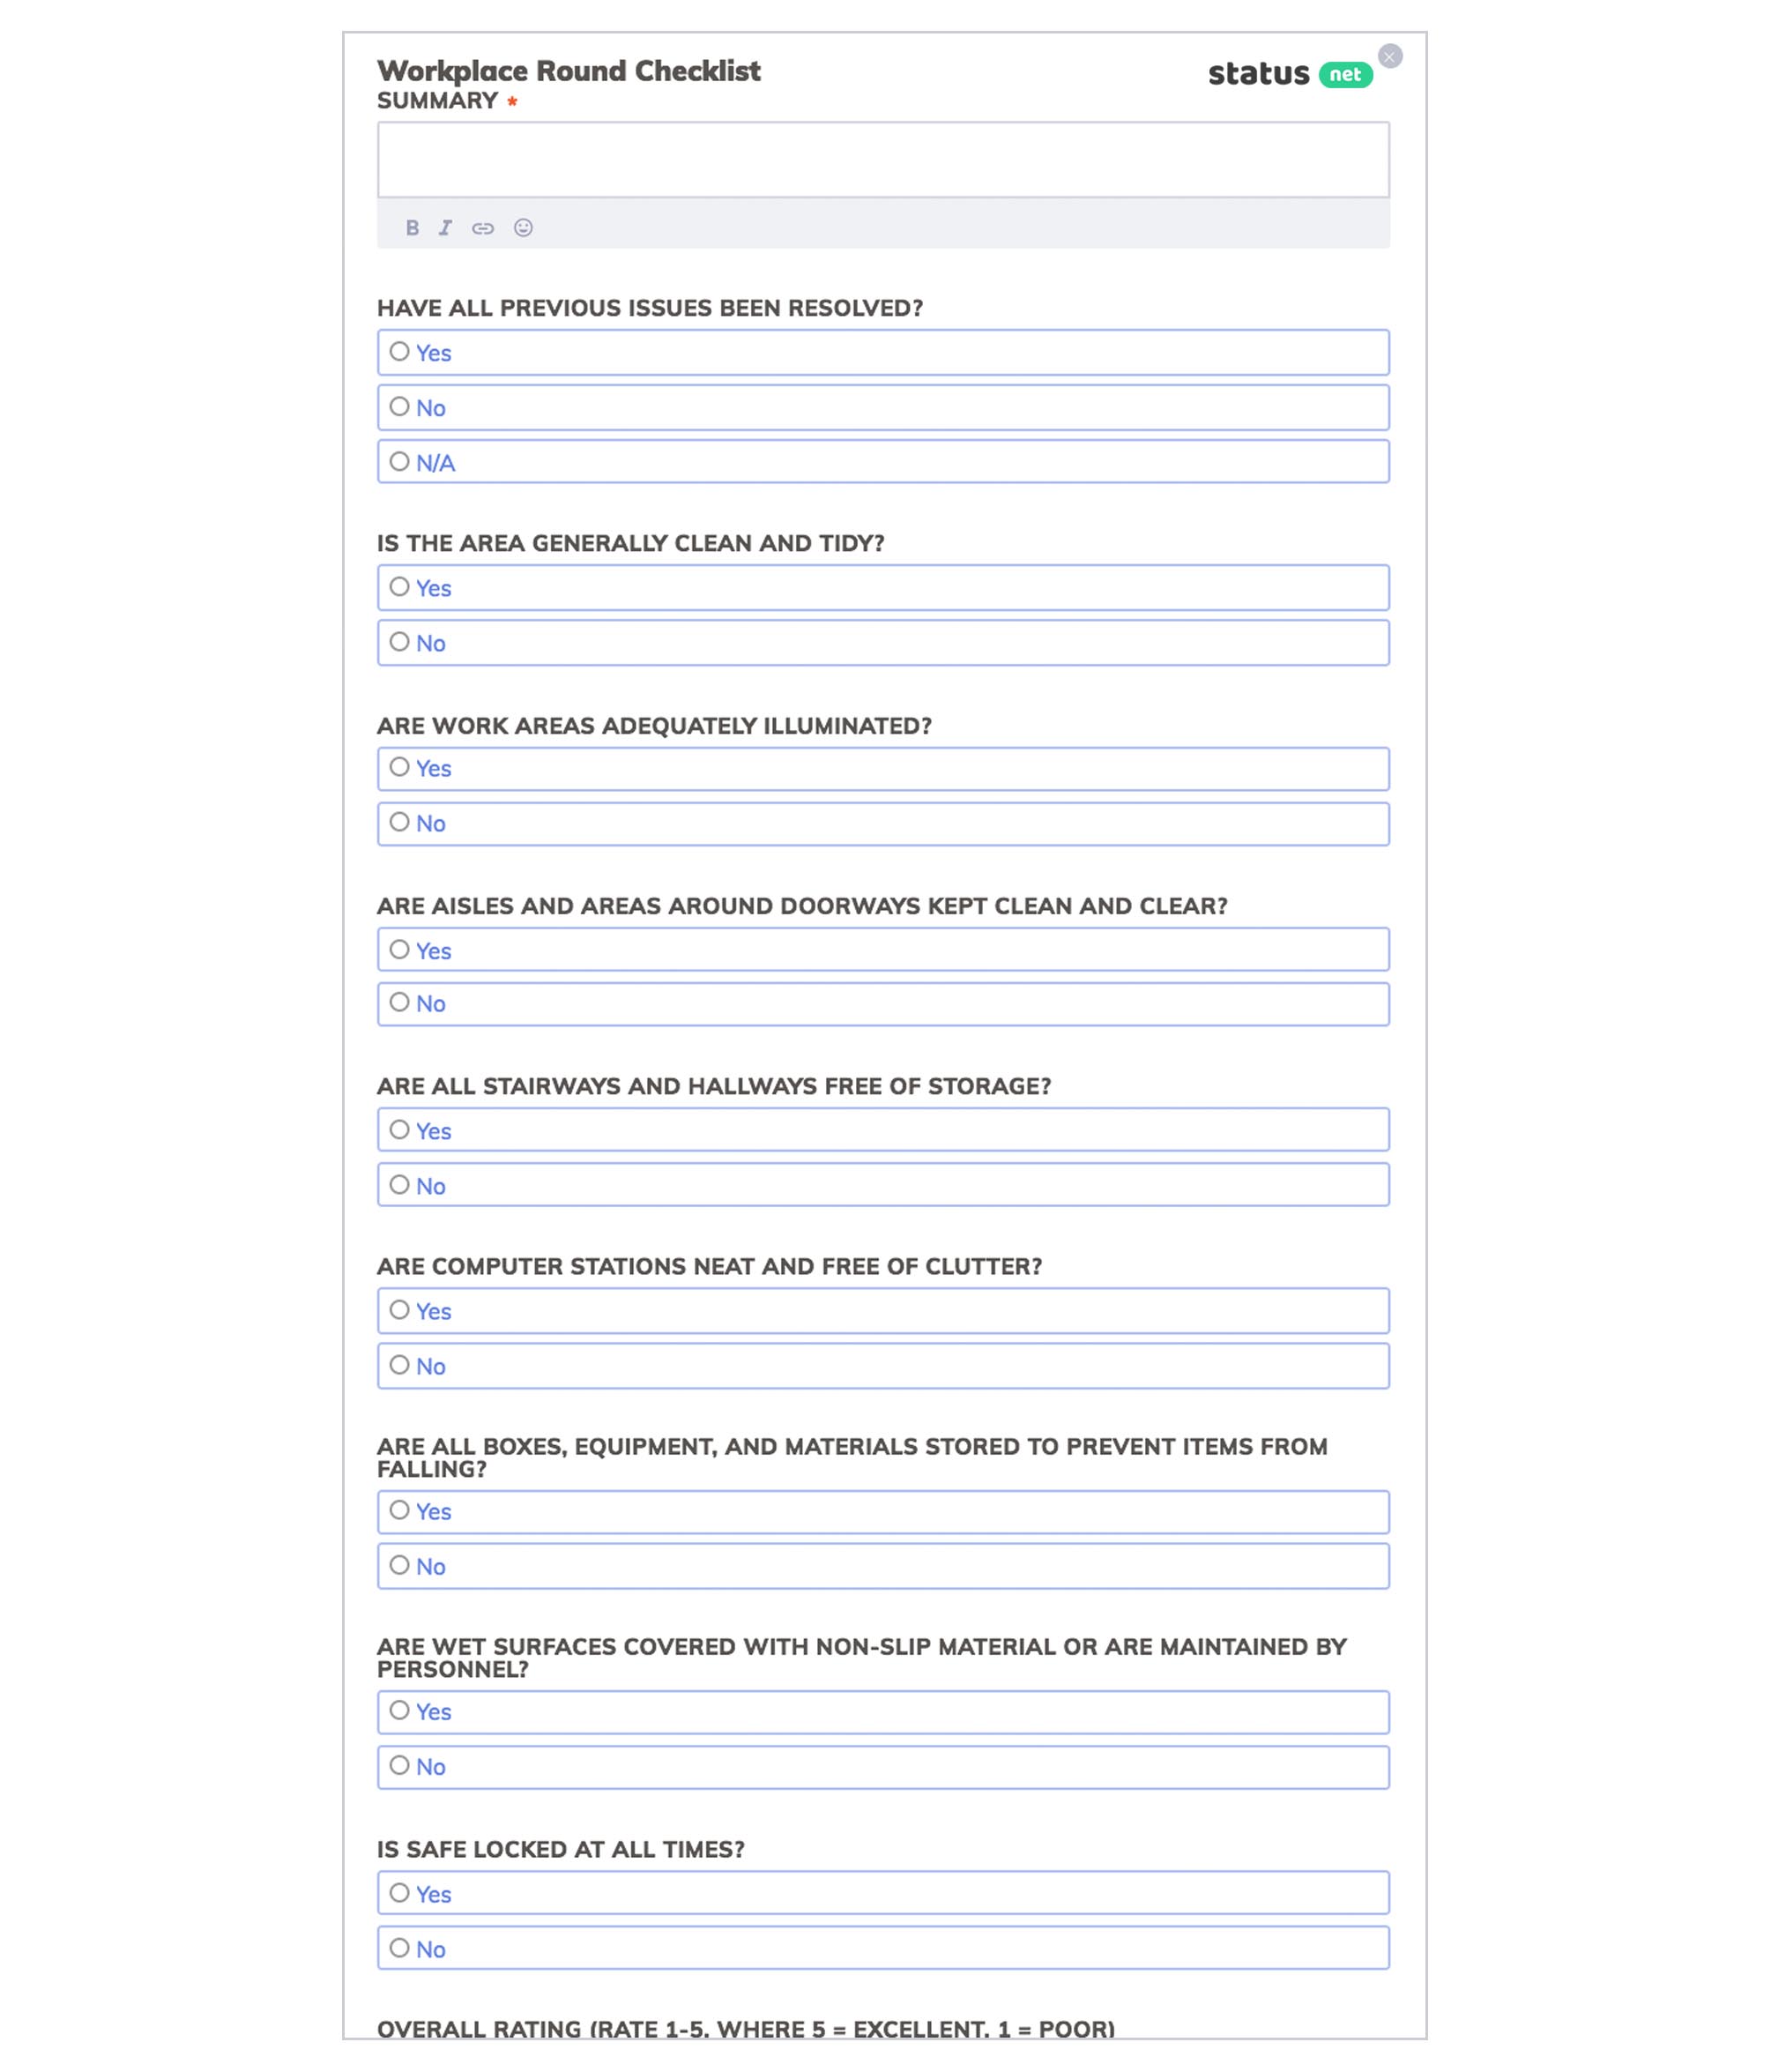
Example: Inspection checklist.
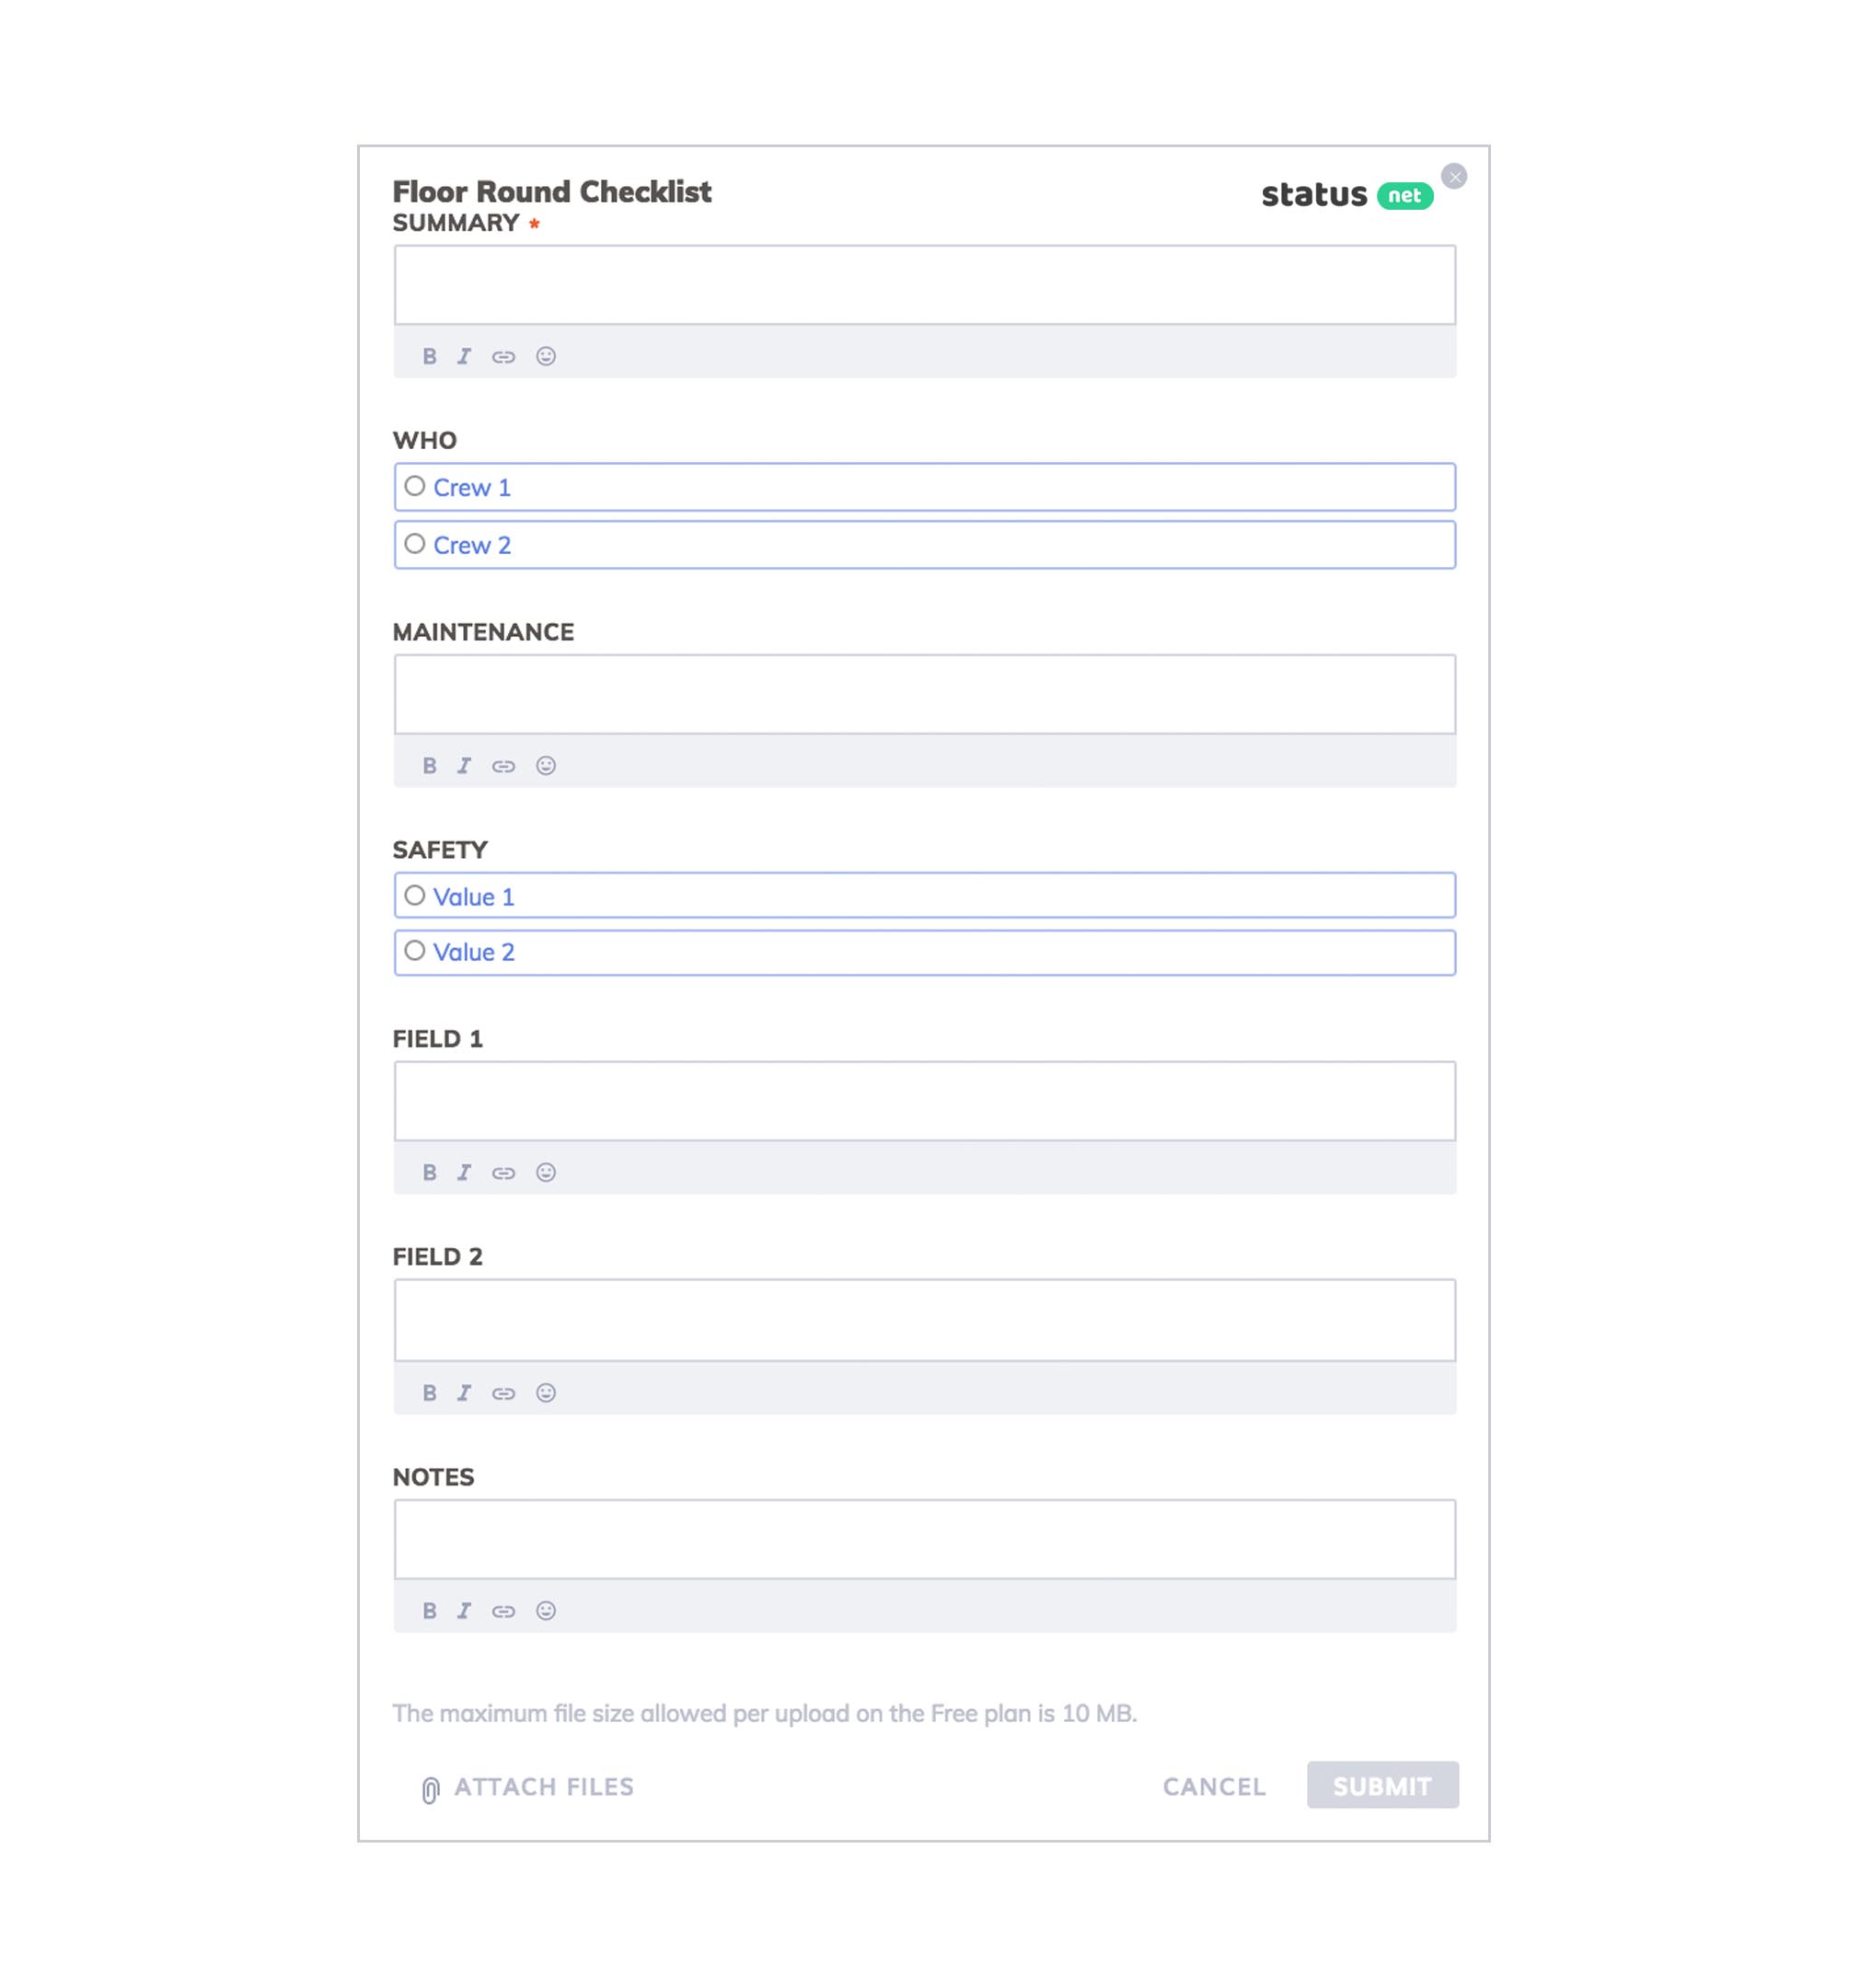
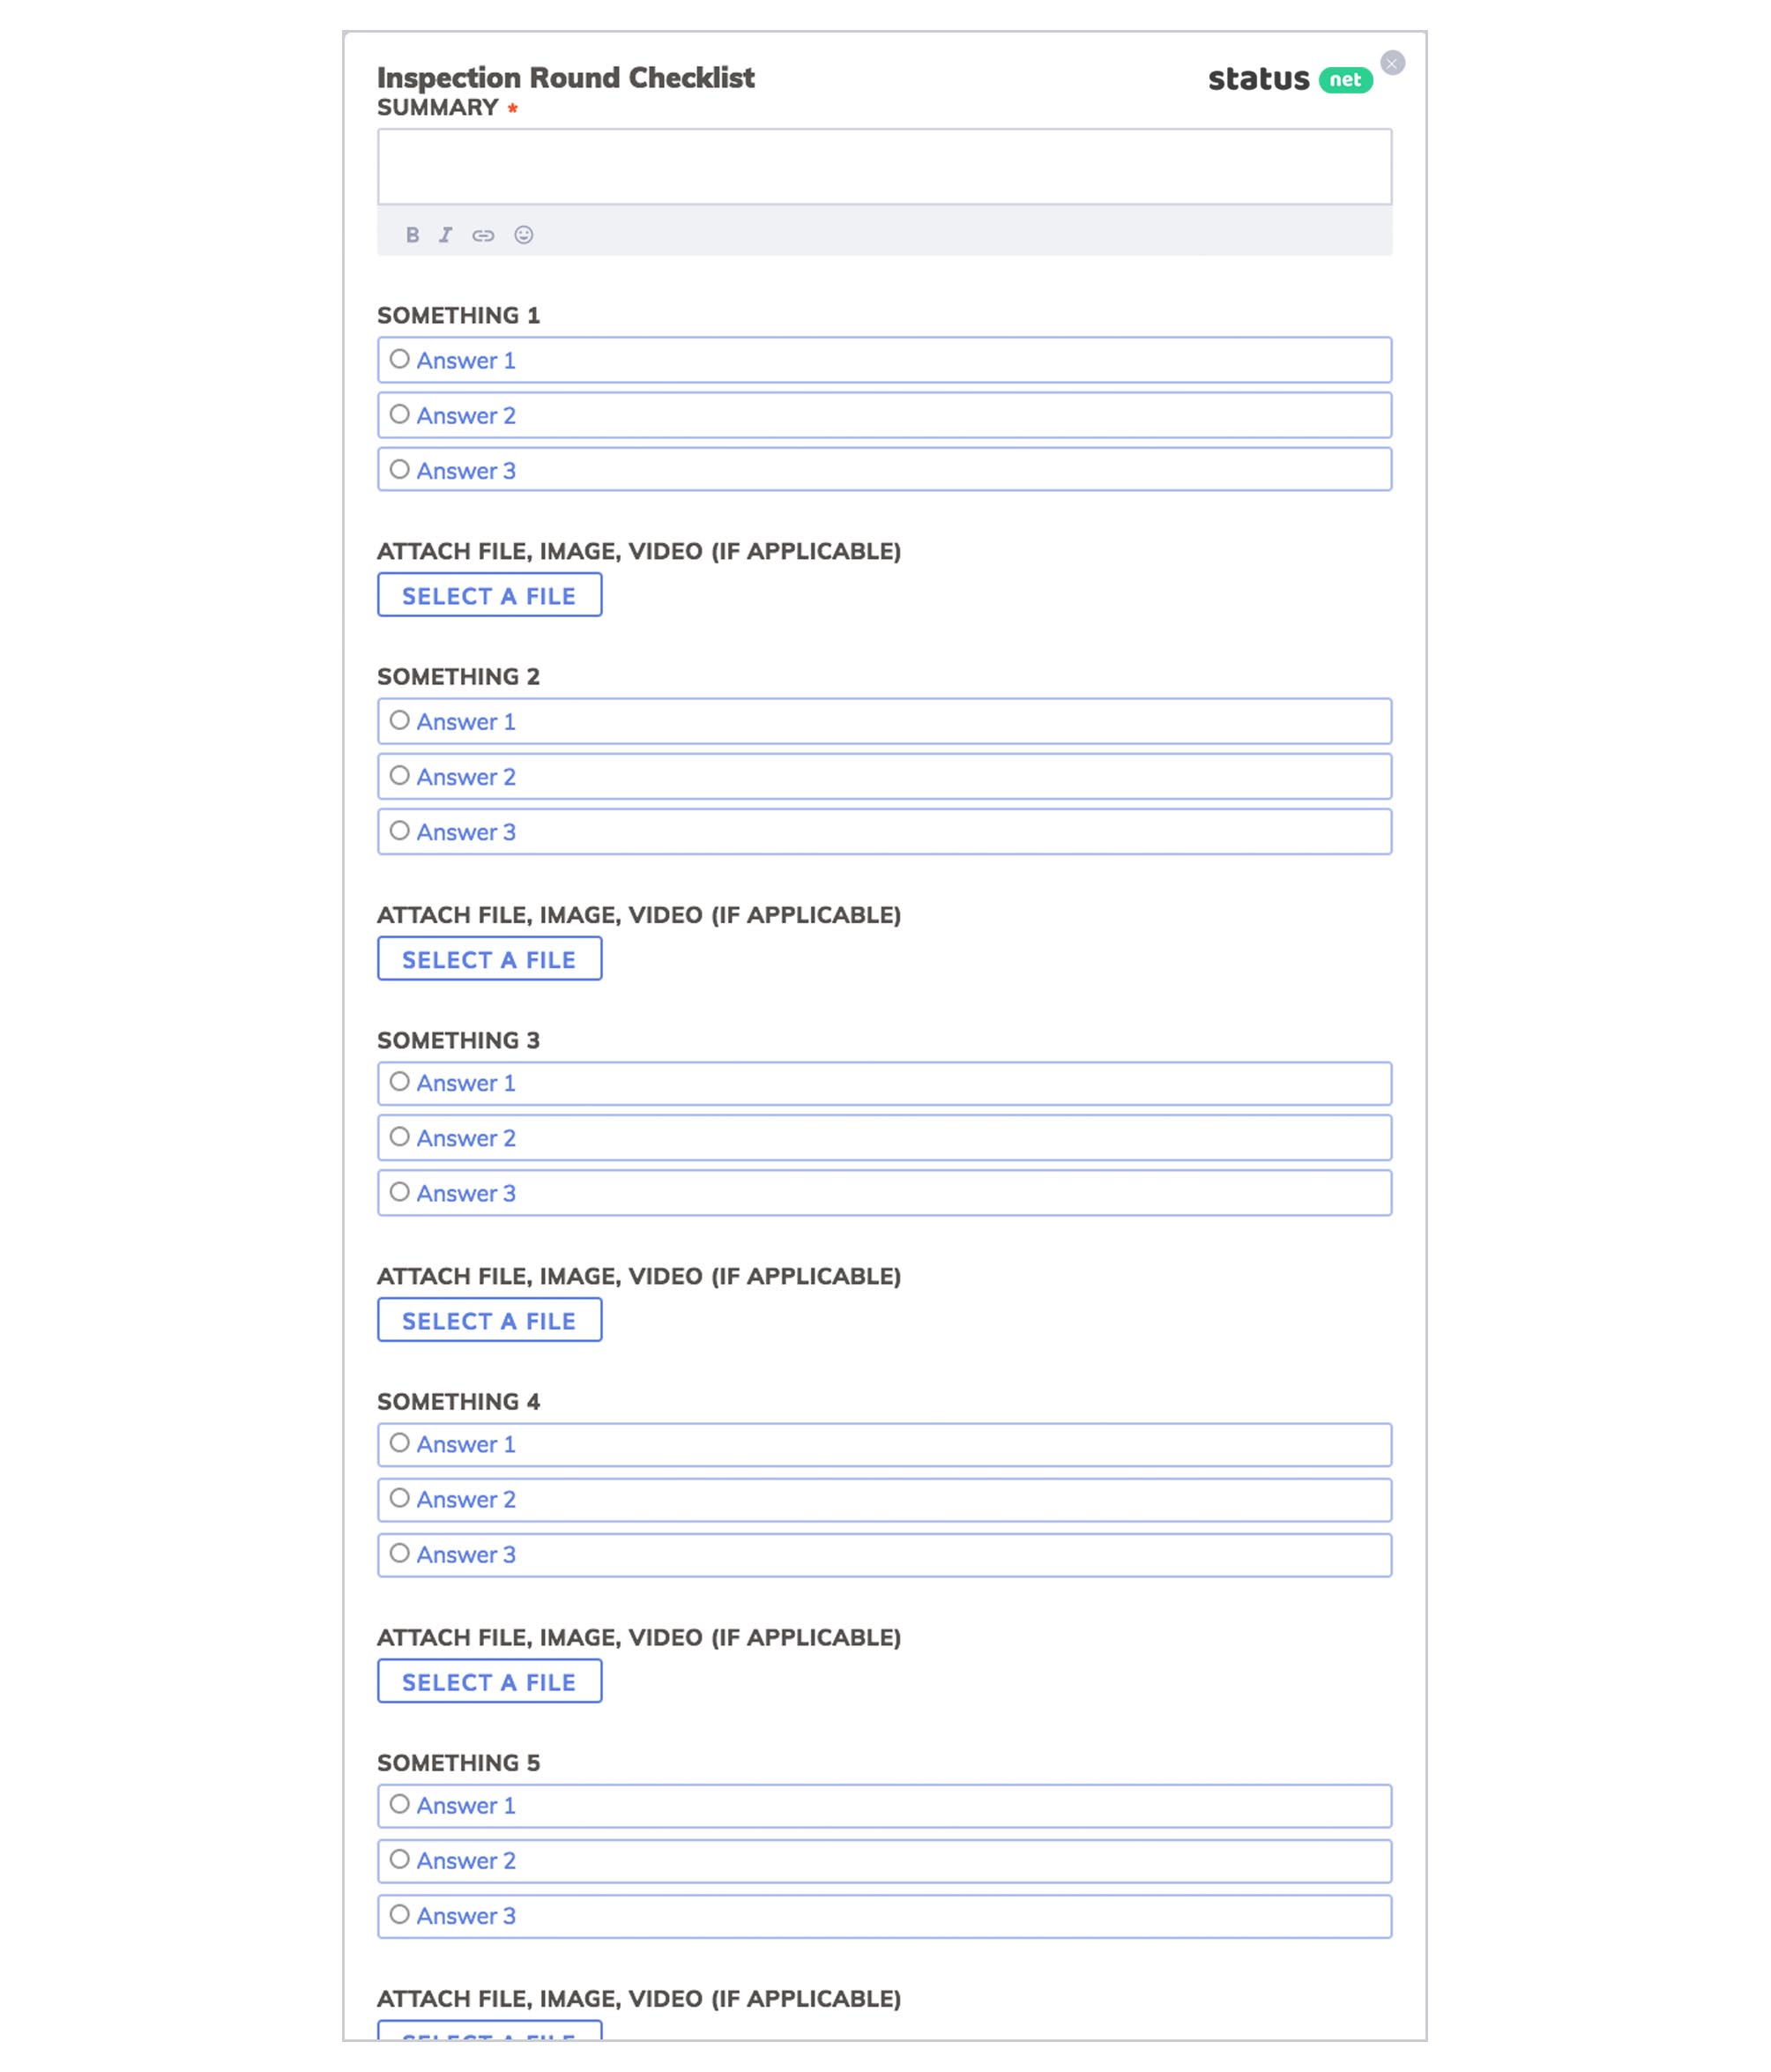
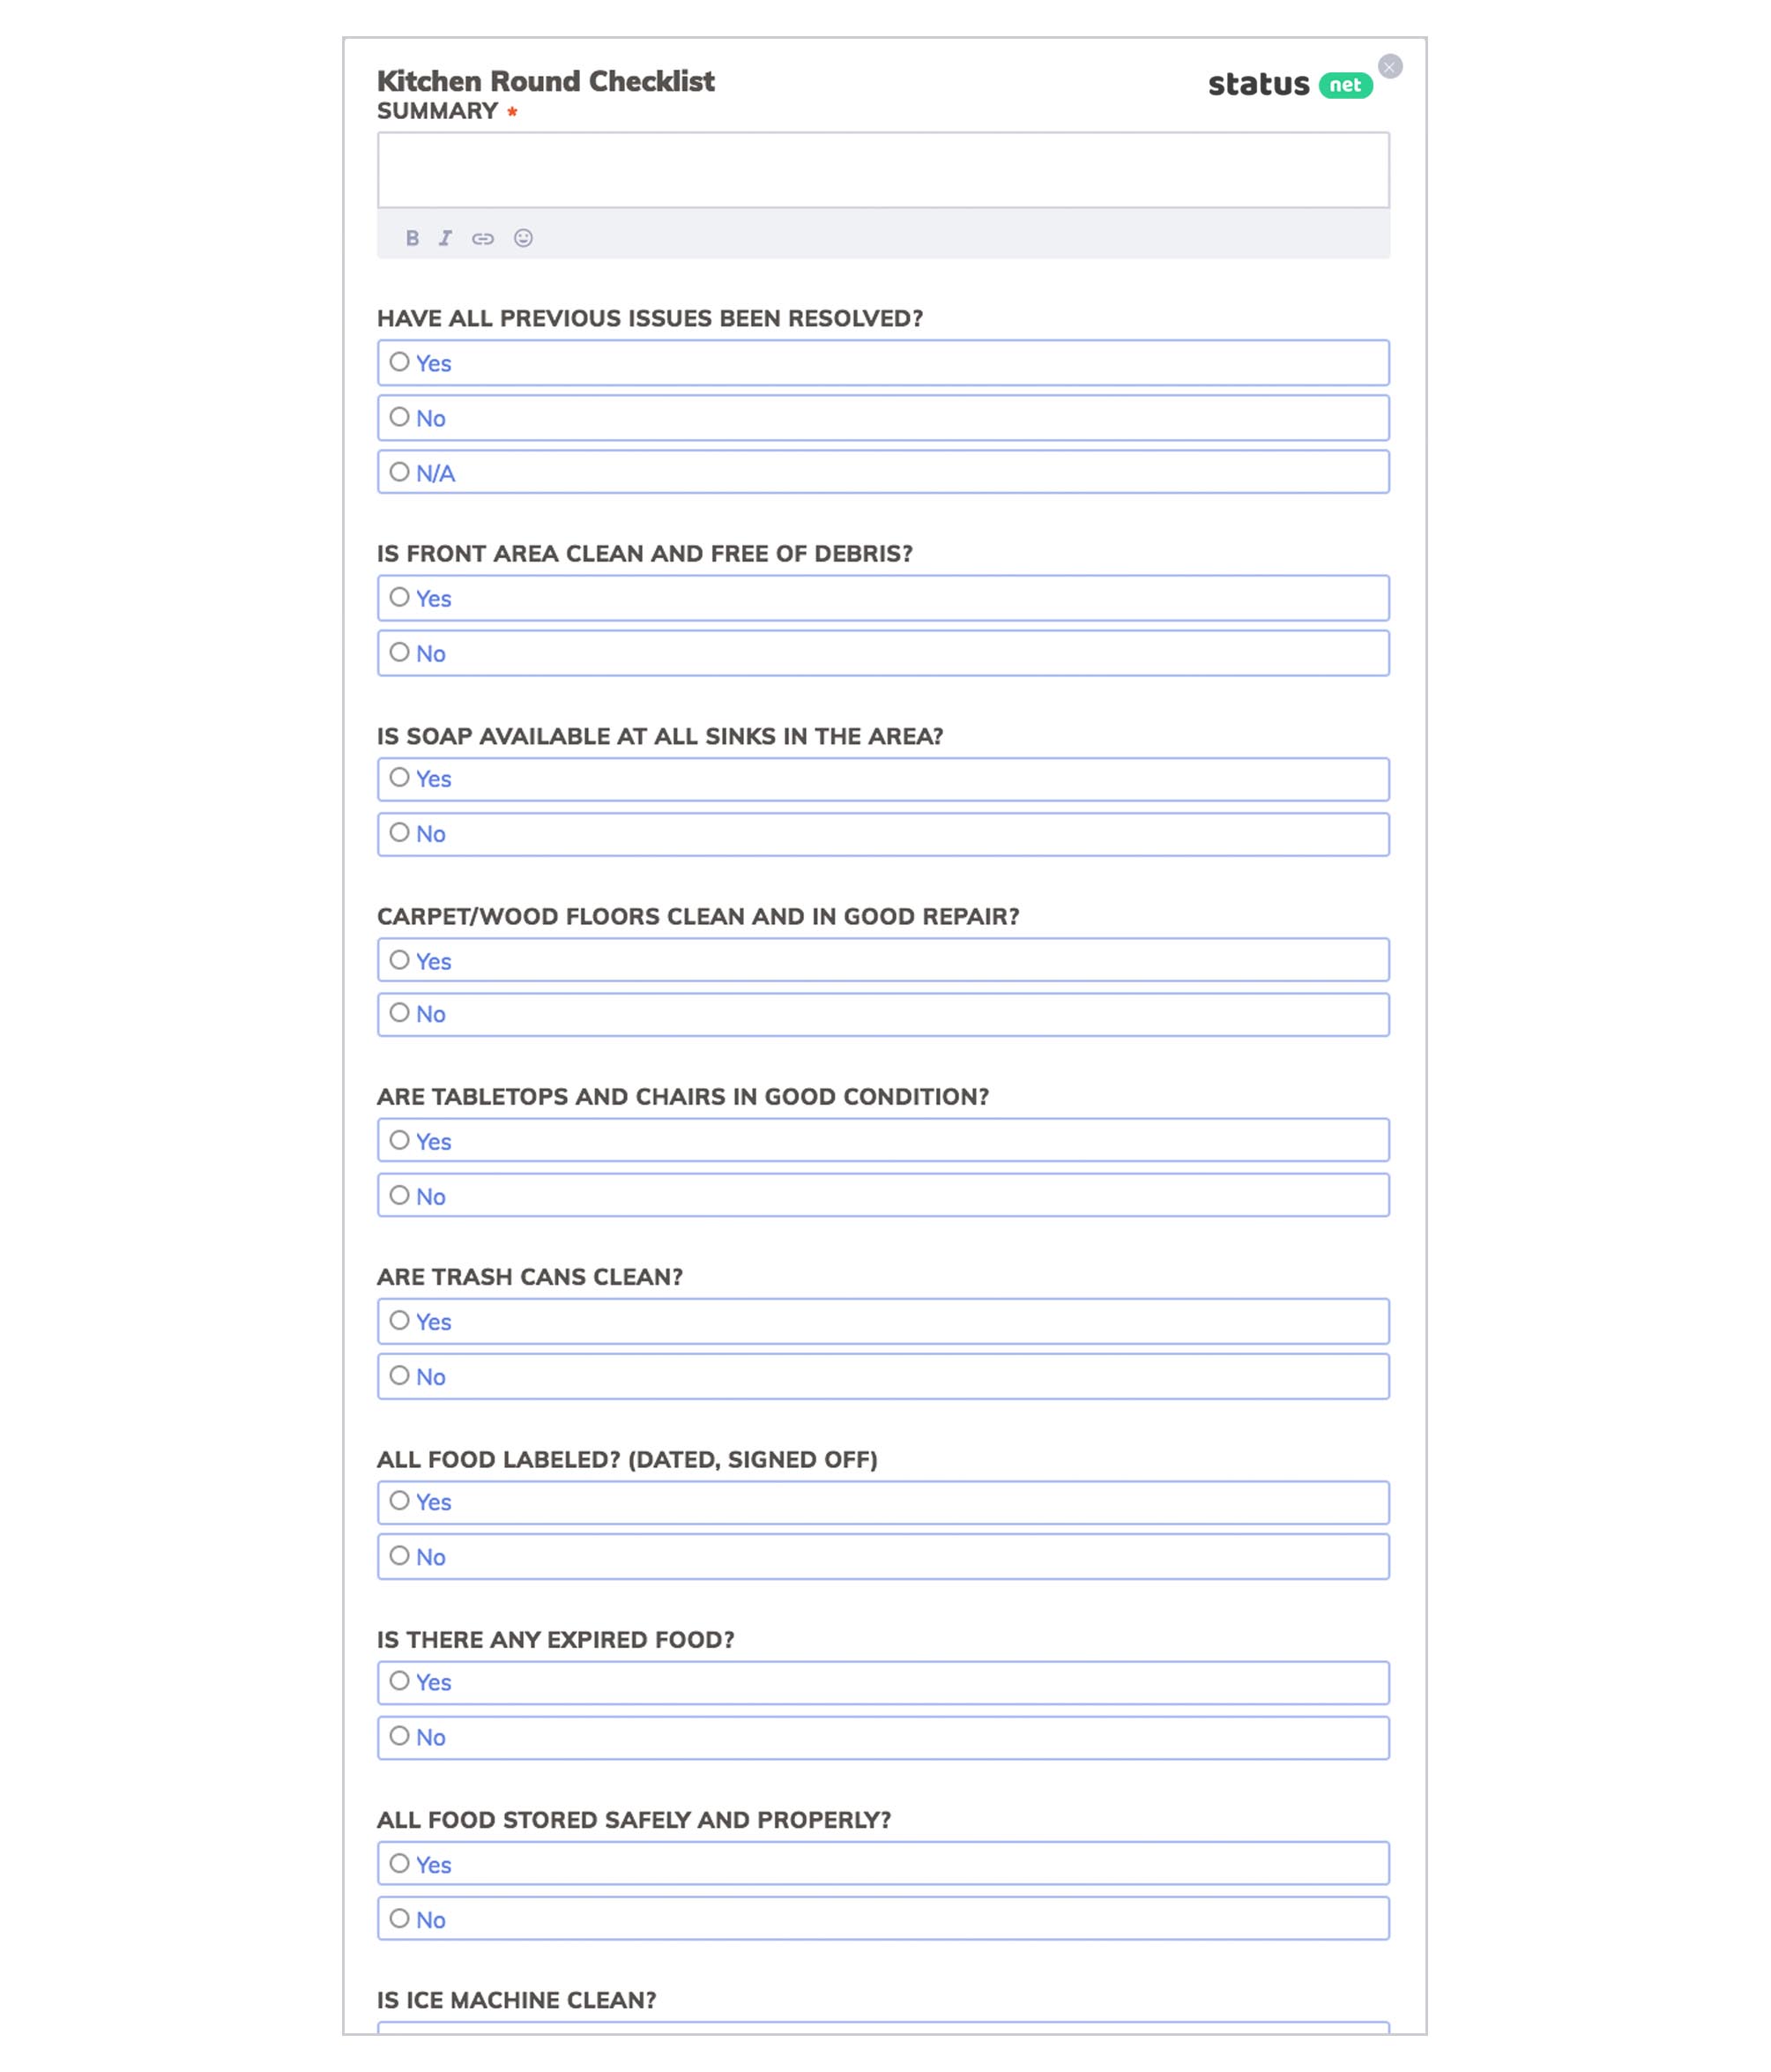
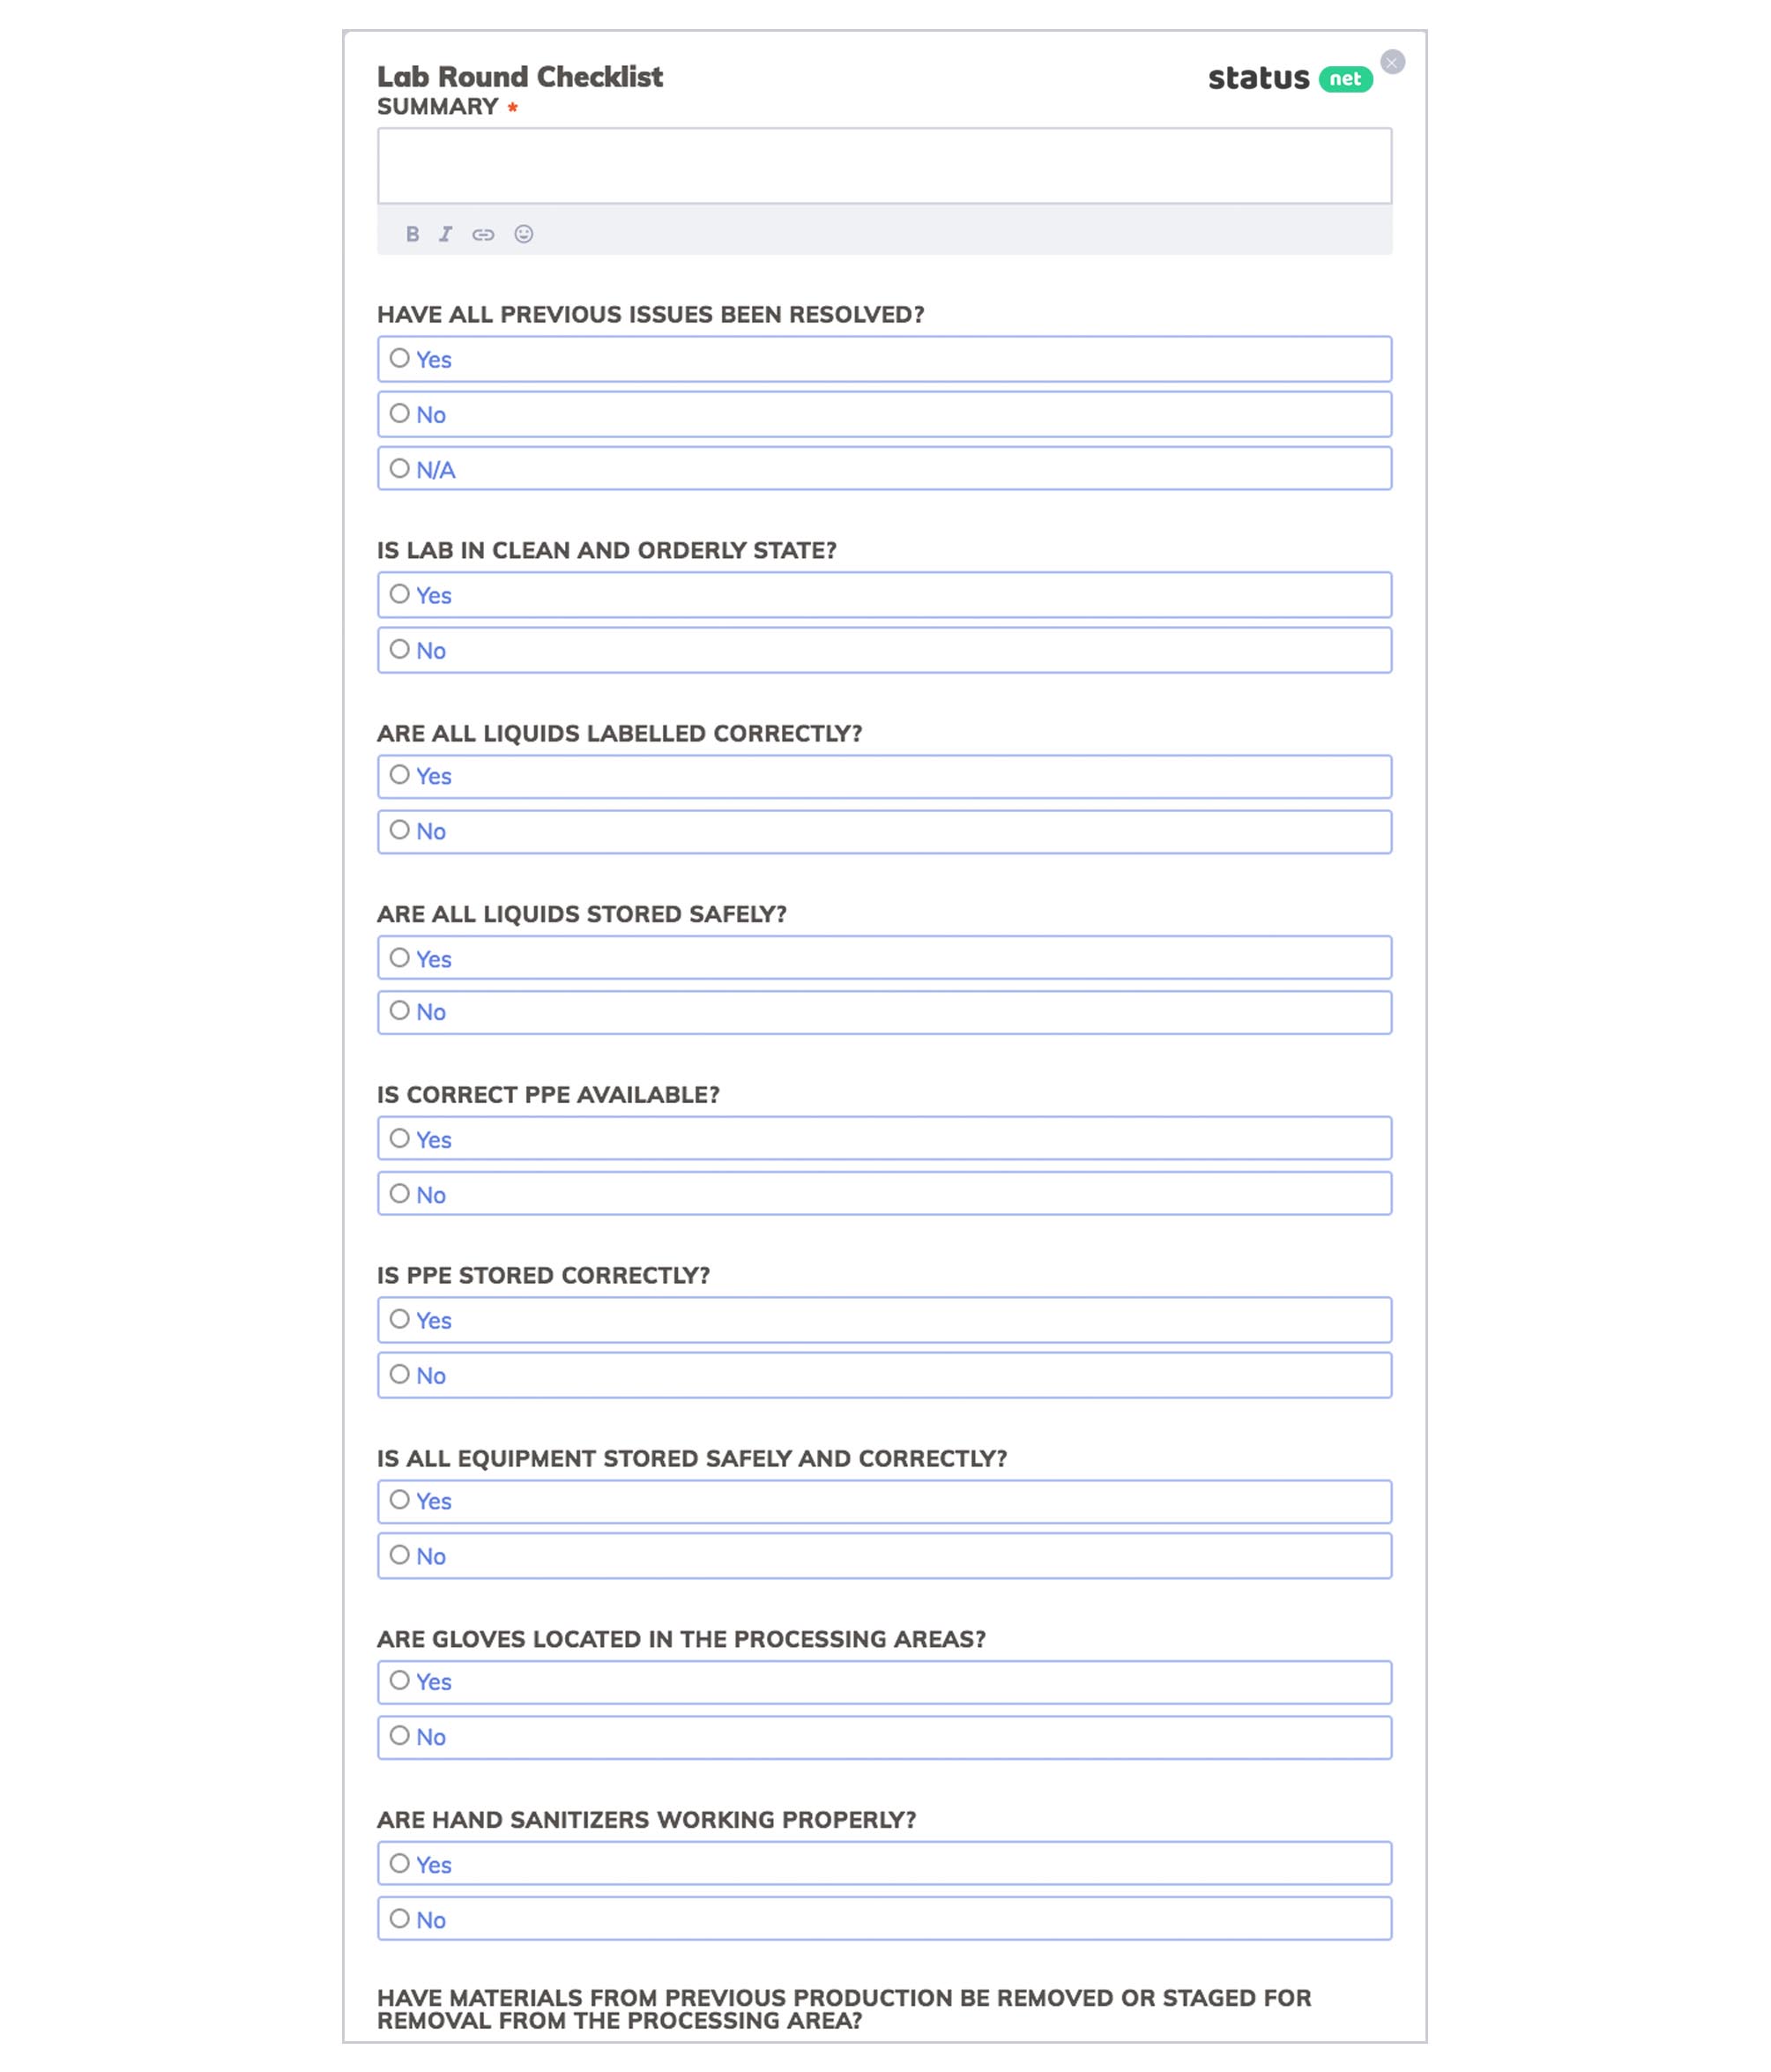
Free online software for this type of checklists: status.net
Part 2
How to Make a Checklist in Microsoft Word
Microsoft word can create two types of checklists: clickable and printable checklists.
1. Printable Checklists
Well, creating a printable checklist is quite easy. It will take you less than 5 minutes.
-
The First Step Is Preparing a Bulleted List.
So, you have opened your Microsoft word, right? Well, go ahead and type all the items you want to appear in your checklist (make sure that every item appears on a different line). Strike the enter key to put each item on its own line.
Tip: You can also use the increase indent option (look for it in the paragraphing category in the home tab) to manage entities that seem to take more than one line. -
Next, highlight your list and then go to the drop-down list near the bulleting icon and browse through its library. Find a checkbox option. Select on that and wow! Your printable checklist is good to go.
However, sometimes you may not find the checkbox in the bulleting library. Well, don’t be worried yet.
To get around this still, go to the go to the drop-down list next to the bulleting icon. At the very bottom of the list, you will find a “Define New Bullet” option. On the popup dialog box that appears click symbol. Multiple symbols will appear, but for easy checking, an empty box would be a perfect choice.
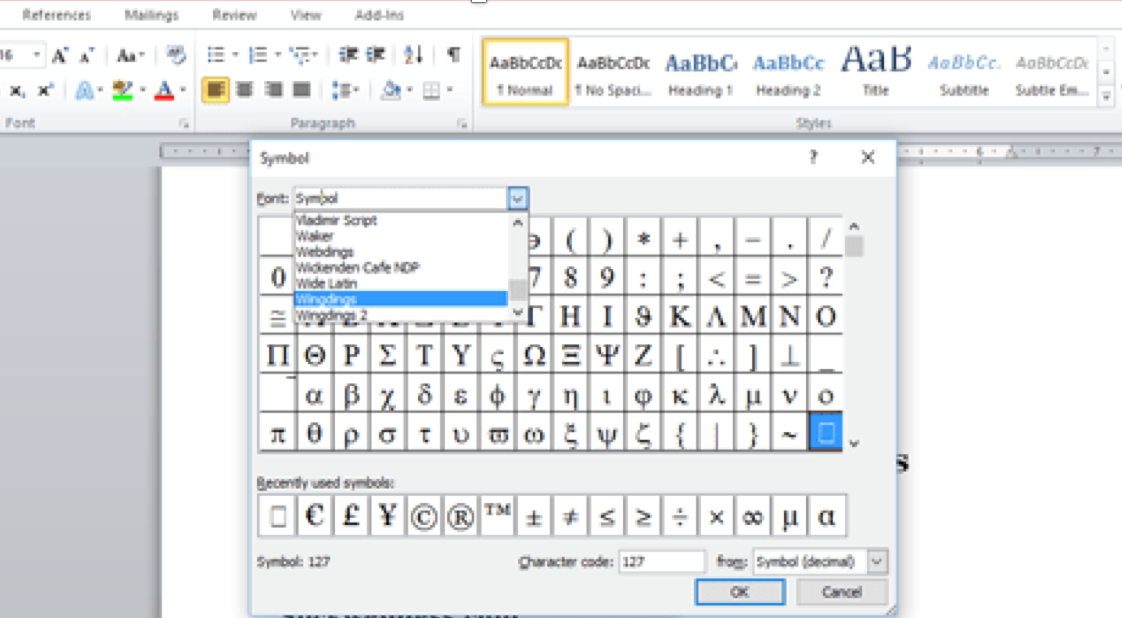
Tip: Wingding font would be a perfect choice-just select it from the Font drop-down list.
2. Creating a Clickable Checkbox in Word
So, what if you want to go a higher notch in the tech ladder? Definitely, you will need an executable checklist, one that you can use from your computer. Well, to do this, you will have to activate your computers Developer Tab….do you want to learn how to perform this magic? Just read on…
-
But Where Do I Find This Developer Tab?
When it comes to creating a clickable checklist finding the developer tab is where most people get stuck. Well since the developer tab is not one of the visual options on the Access Bar (Ribbon), finding it one of the challenges most people face when creating executable checklists using MS word.
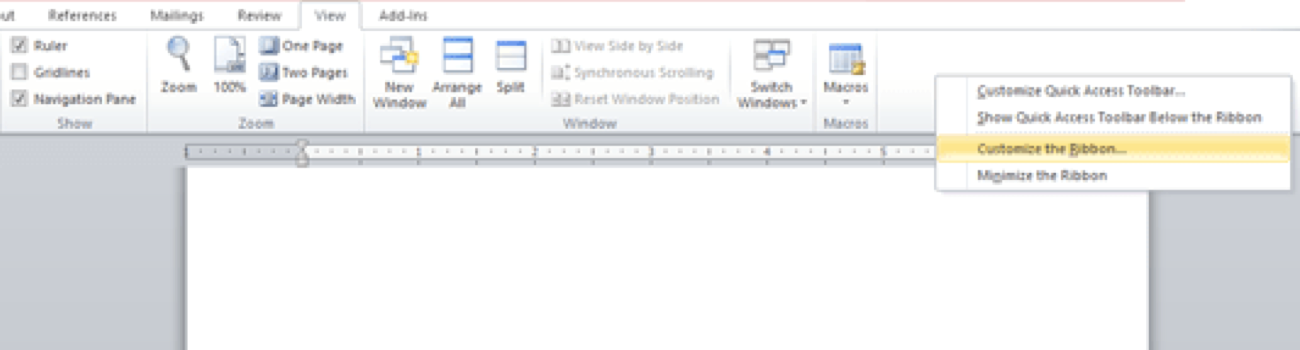
So to locate it, first, you must switch to the home tab. After that right-click an empty space on the home-tab Access Bar. A list will appear in which customize Ribbon will be one of the options.
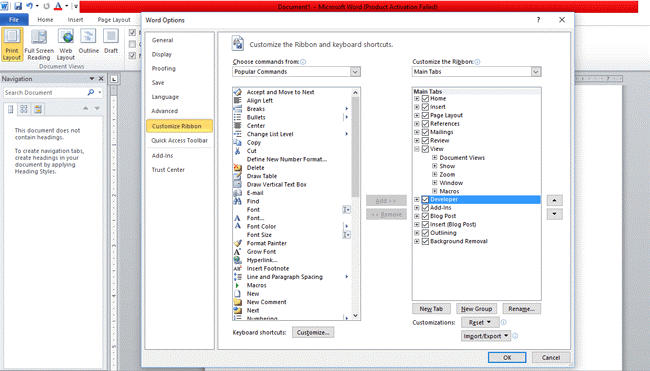
On the left-hand side of the popup dialog box appears. From its list, click on popular option; and a warning box will show up saying ‘Show Developer Tab in the Ribbon‘. Go ahead and enable the checkbox and click OK.
-
Lastly, Insert the Check Box Control
In the controls category of the developer tab, select on the checkbox controls. If you use MS office 7, you can select the checkbox control from the controls section in the legacy tools. Repeat the same procedure for every item until all of them have interactive boxes.
And that’s how simple the whole procedure is….
However, if you want to share your checklists easily, consider using online software.
Some of the most popular sites to create and share checklists include:
https://fluxes.com/
https://status.net/
Part 3
How to Make a Checklist in Excel
Imagine using Microsoft Excel to create a checklist? Sounds wonderful, right? Well if you want to learn how simple this is, just read on…
When creating a checklist with Excel there are three major steps that you need to understand.
- Activate the Developer Tab.
- Type-in your checklist items into your spreadsheet.
- Add your checkboxes and advanced formatting.
So, let’s fire up
Well, you already know how to activate the developer tab, right? (See the section about Microsoft Word above.)
So, we can jump on to the next steps….
-
Enter the Checklist Items into Your Spreadsheet
Go back to the excel spreadsheet and enter all the items that you want to appear on the checklist (each item should appear on its separate cell).
-
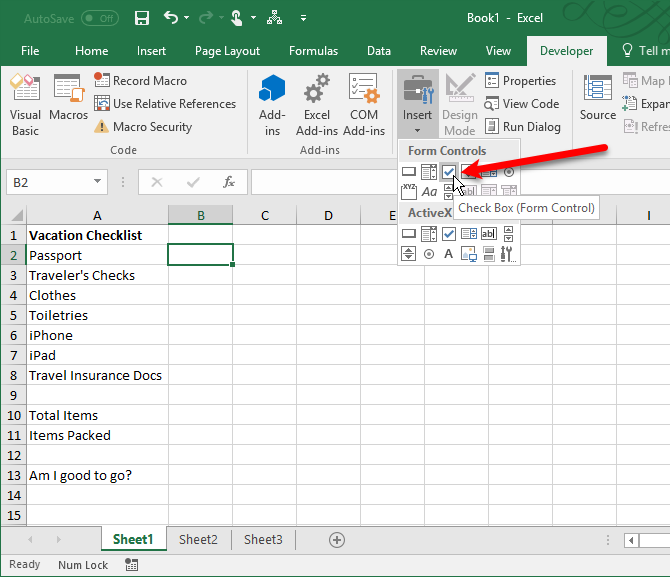
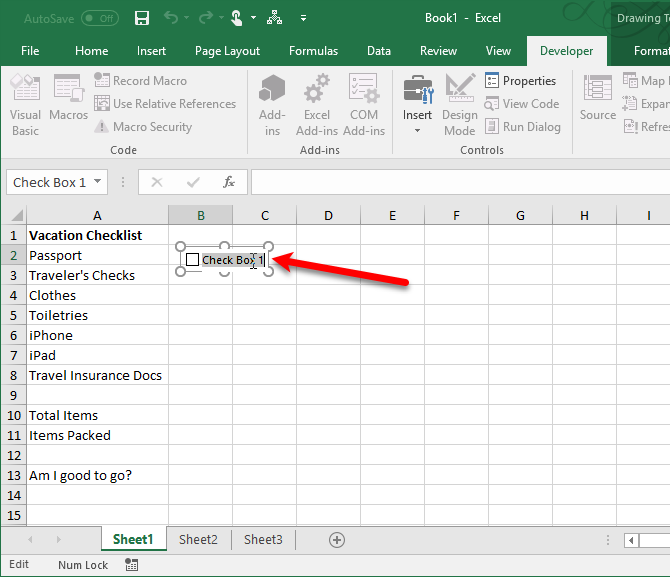
Add the Checkboxes
Finish off by inserting the checkboxes into the cells on your spreadsheet. To do this, first, click on the cell you want the checkbox to appear. After that go to the developer tab, then at the controls click on the checkbox. Automatically a checkbox will appear on your spreadsheet. However, you will notice that a text will appear on the right-hand side of the box. But since you don’t want the text but the box, highlight the text and then delete it.
Often, after deleting the text the checkbox refuses to automatically resize. So, to do this select the checkbox by right-clicking on the cell then left-click on the checkbox itself. After this resize the checkbox by dragging the selected checkbox rightwards to the size you want.
So, to copy the checkbox to the other cell drag your cursor (from the top-left toward the bottom-right) over the cell containing select the cell with the checkbox until it makes a + sign. Then drag the plus sign over the cells you wish to copy the checkbox into and let go of the button. And just like that, the checkbox will appear on the other cells as well.
Alternatively, you can use free online checklist templates — they are professional and easier to use.
Create free accounts on status.net and fluxes.com and check what tool suits you best!